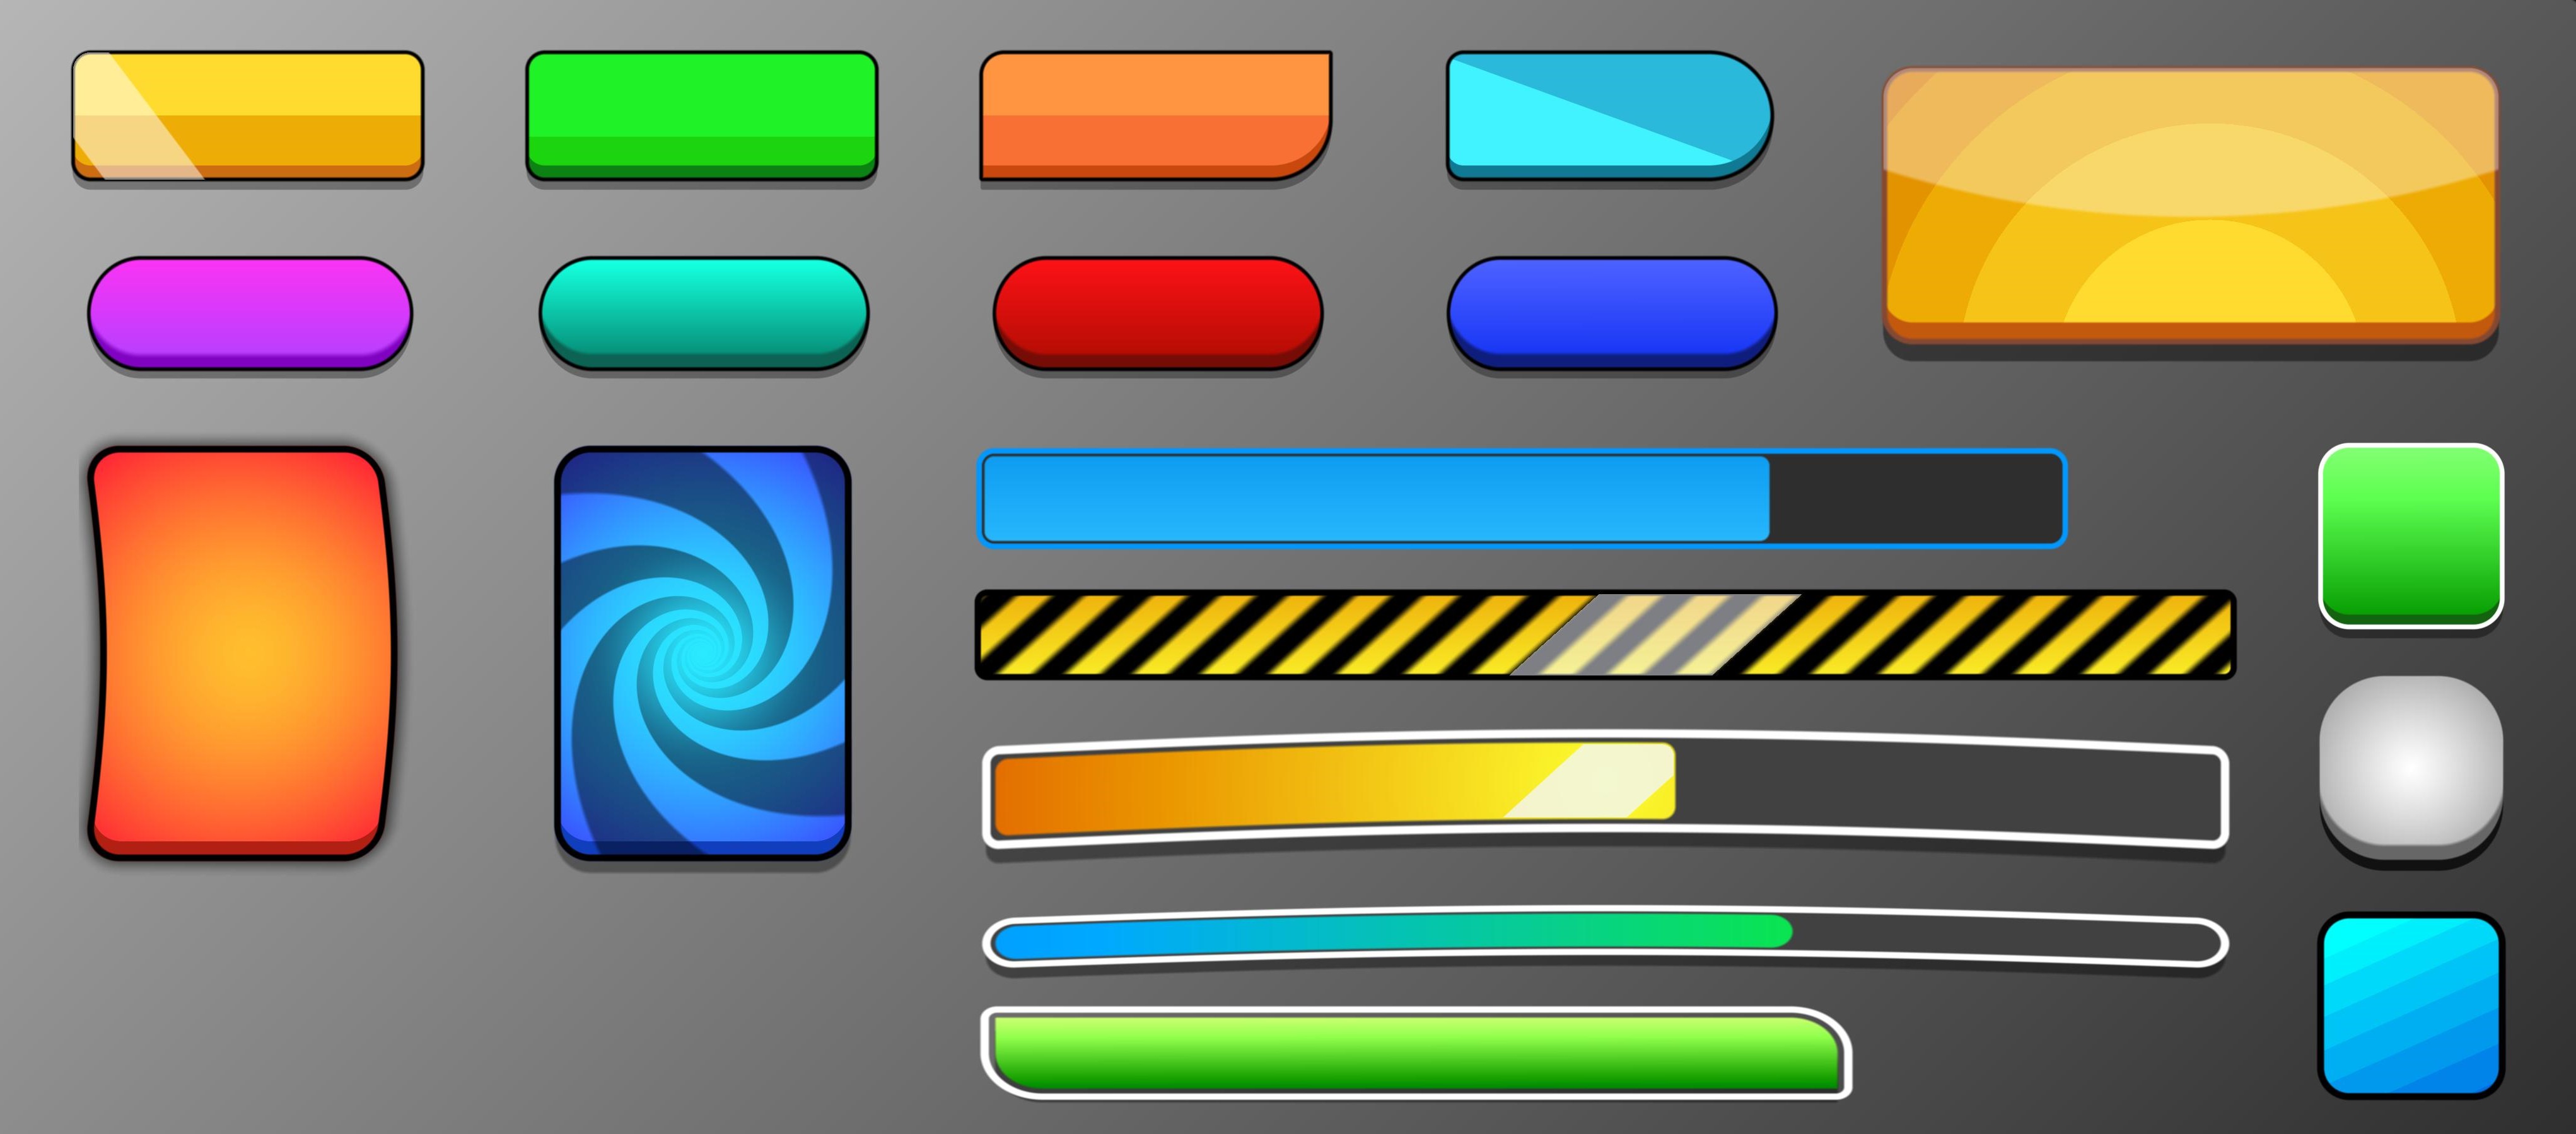
Package contains 49 UI Shaders.
Use could these UI Elements as UI Shaders/Material and control the properties of UI Shader from the script. It will only cost you 1MB of Space for all the UI Elements.
How To Setup?
Add a UI image.
Create a new material.
Apply any UI-Shader (1A in this example) to the material.
Apply that material to the image.
And set the image size ratio (Material Inspector) equal to image width and height.
Done.
Now control the material properties from inspector like fill amount and color etc.
Use UI Shader As Sprite Material
Add a sprite and it should have any shape assined like circle, square or transparent.
Apply any UI-Shader (3D, 5D in this example) to the material.
Apply that material to the sprite.
Done.
Now control the material properties from inspector like fill amount and color etc.
About UI Elements & Youtube Tutorials
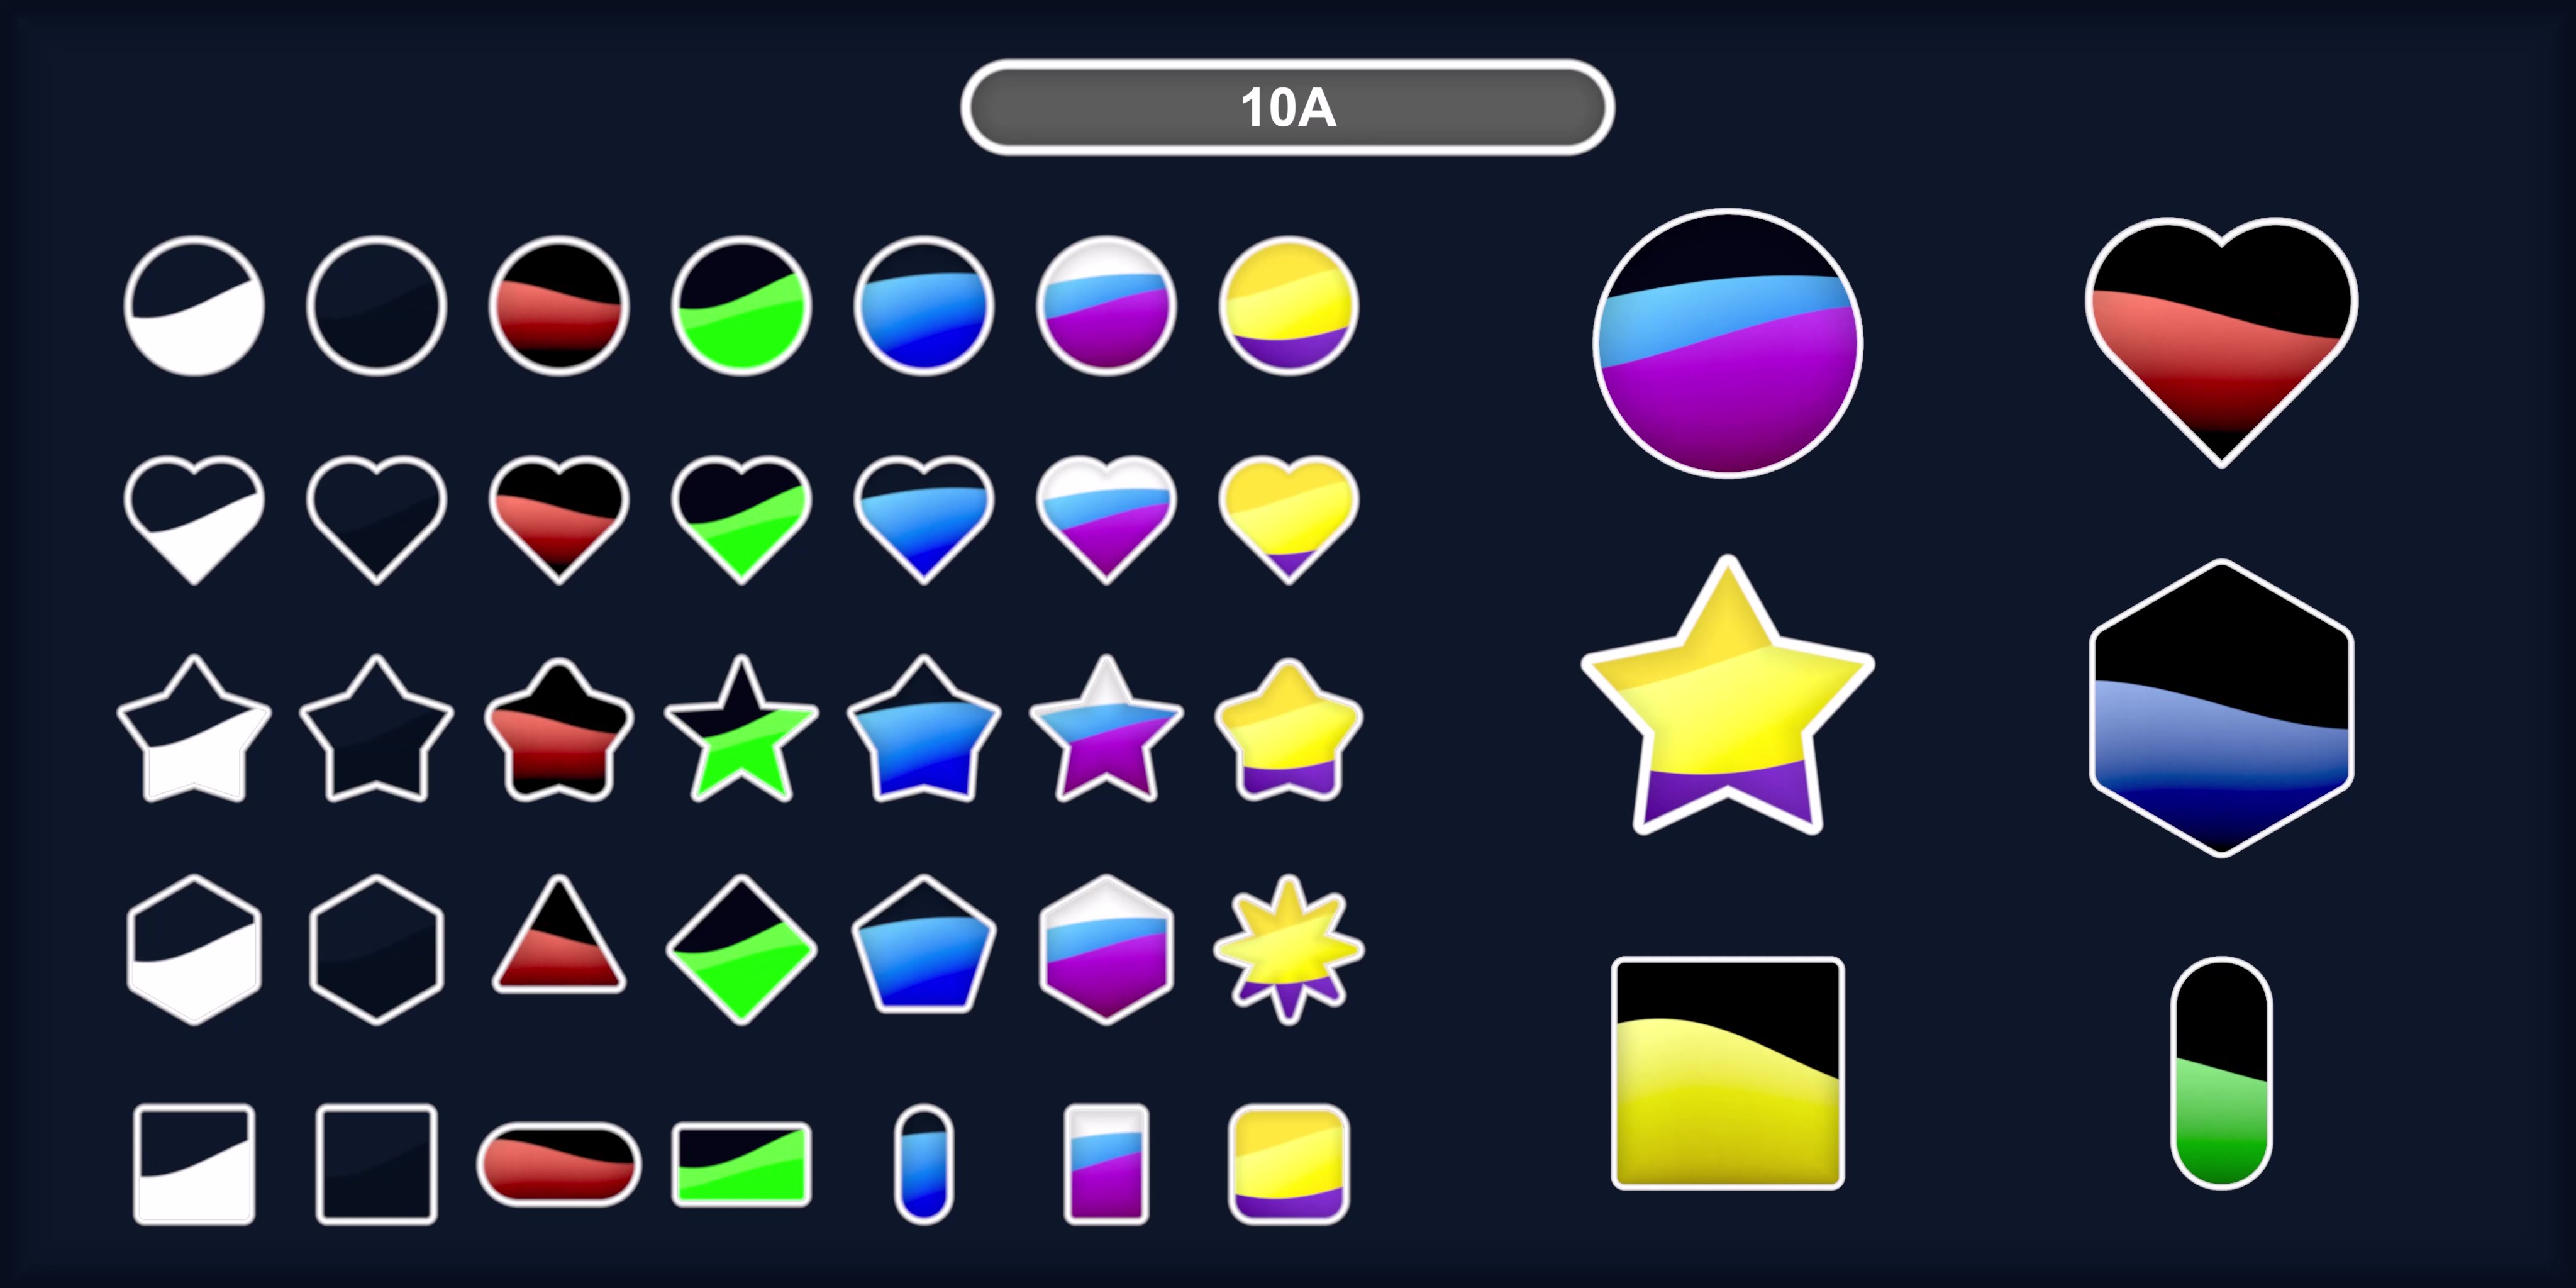
Each UI Element offers different image effects like,
Bloom
Fill Amount
Bending(Deformation)
Color Gradient
Inner Shadow
Drop Shadow
Texture Overlay
Border(Stroke)
Explaining each UI Element could be a little difficult, you can watch these small duration tutorials.
1A, 1B, 1C, 1D, 1E
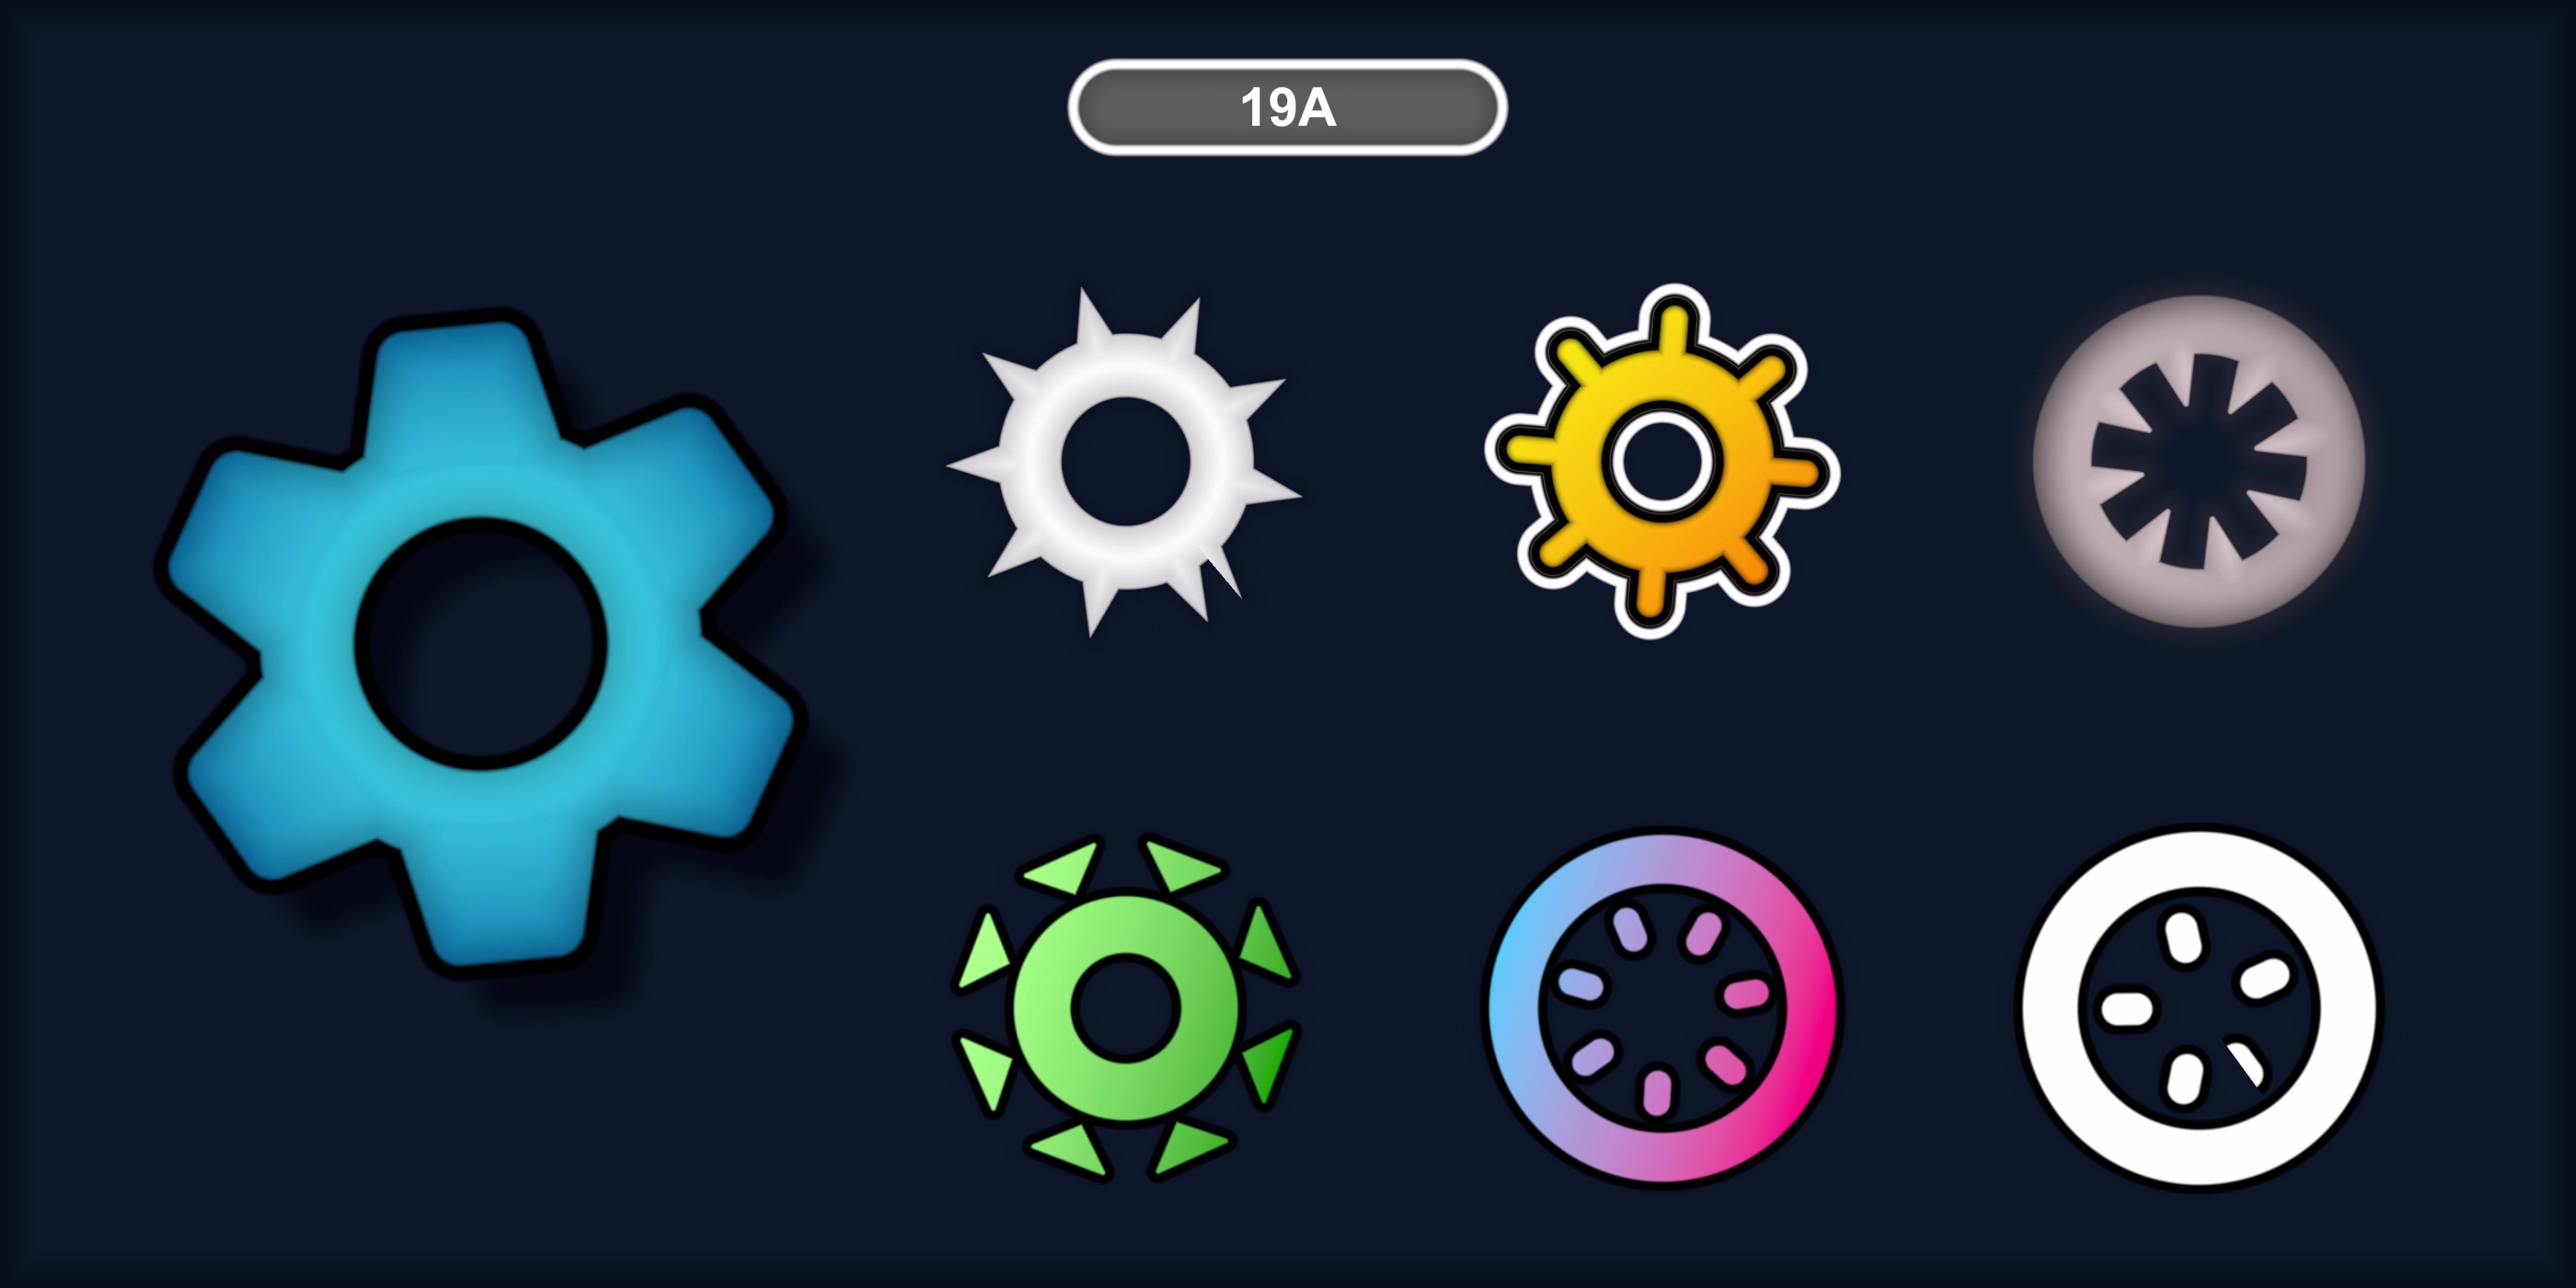
These UI Elements could be used to create any Cirlce shape UI.
1A - Color Gradient, Fill Amount
1B - Color Gradient, Bloom Effect
1C - Color Gradient, Drop Shadow
1D - Color Gradient, Texture Overlay, Lines, Border, Inner Shadow, Drop Shadow
1E - For Reflection Layer
1F - to create water bubble.
You could check out these youtube tutorials for these UI Elements
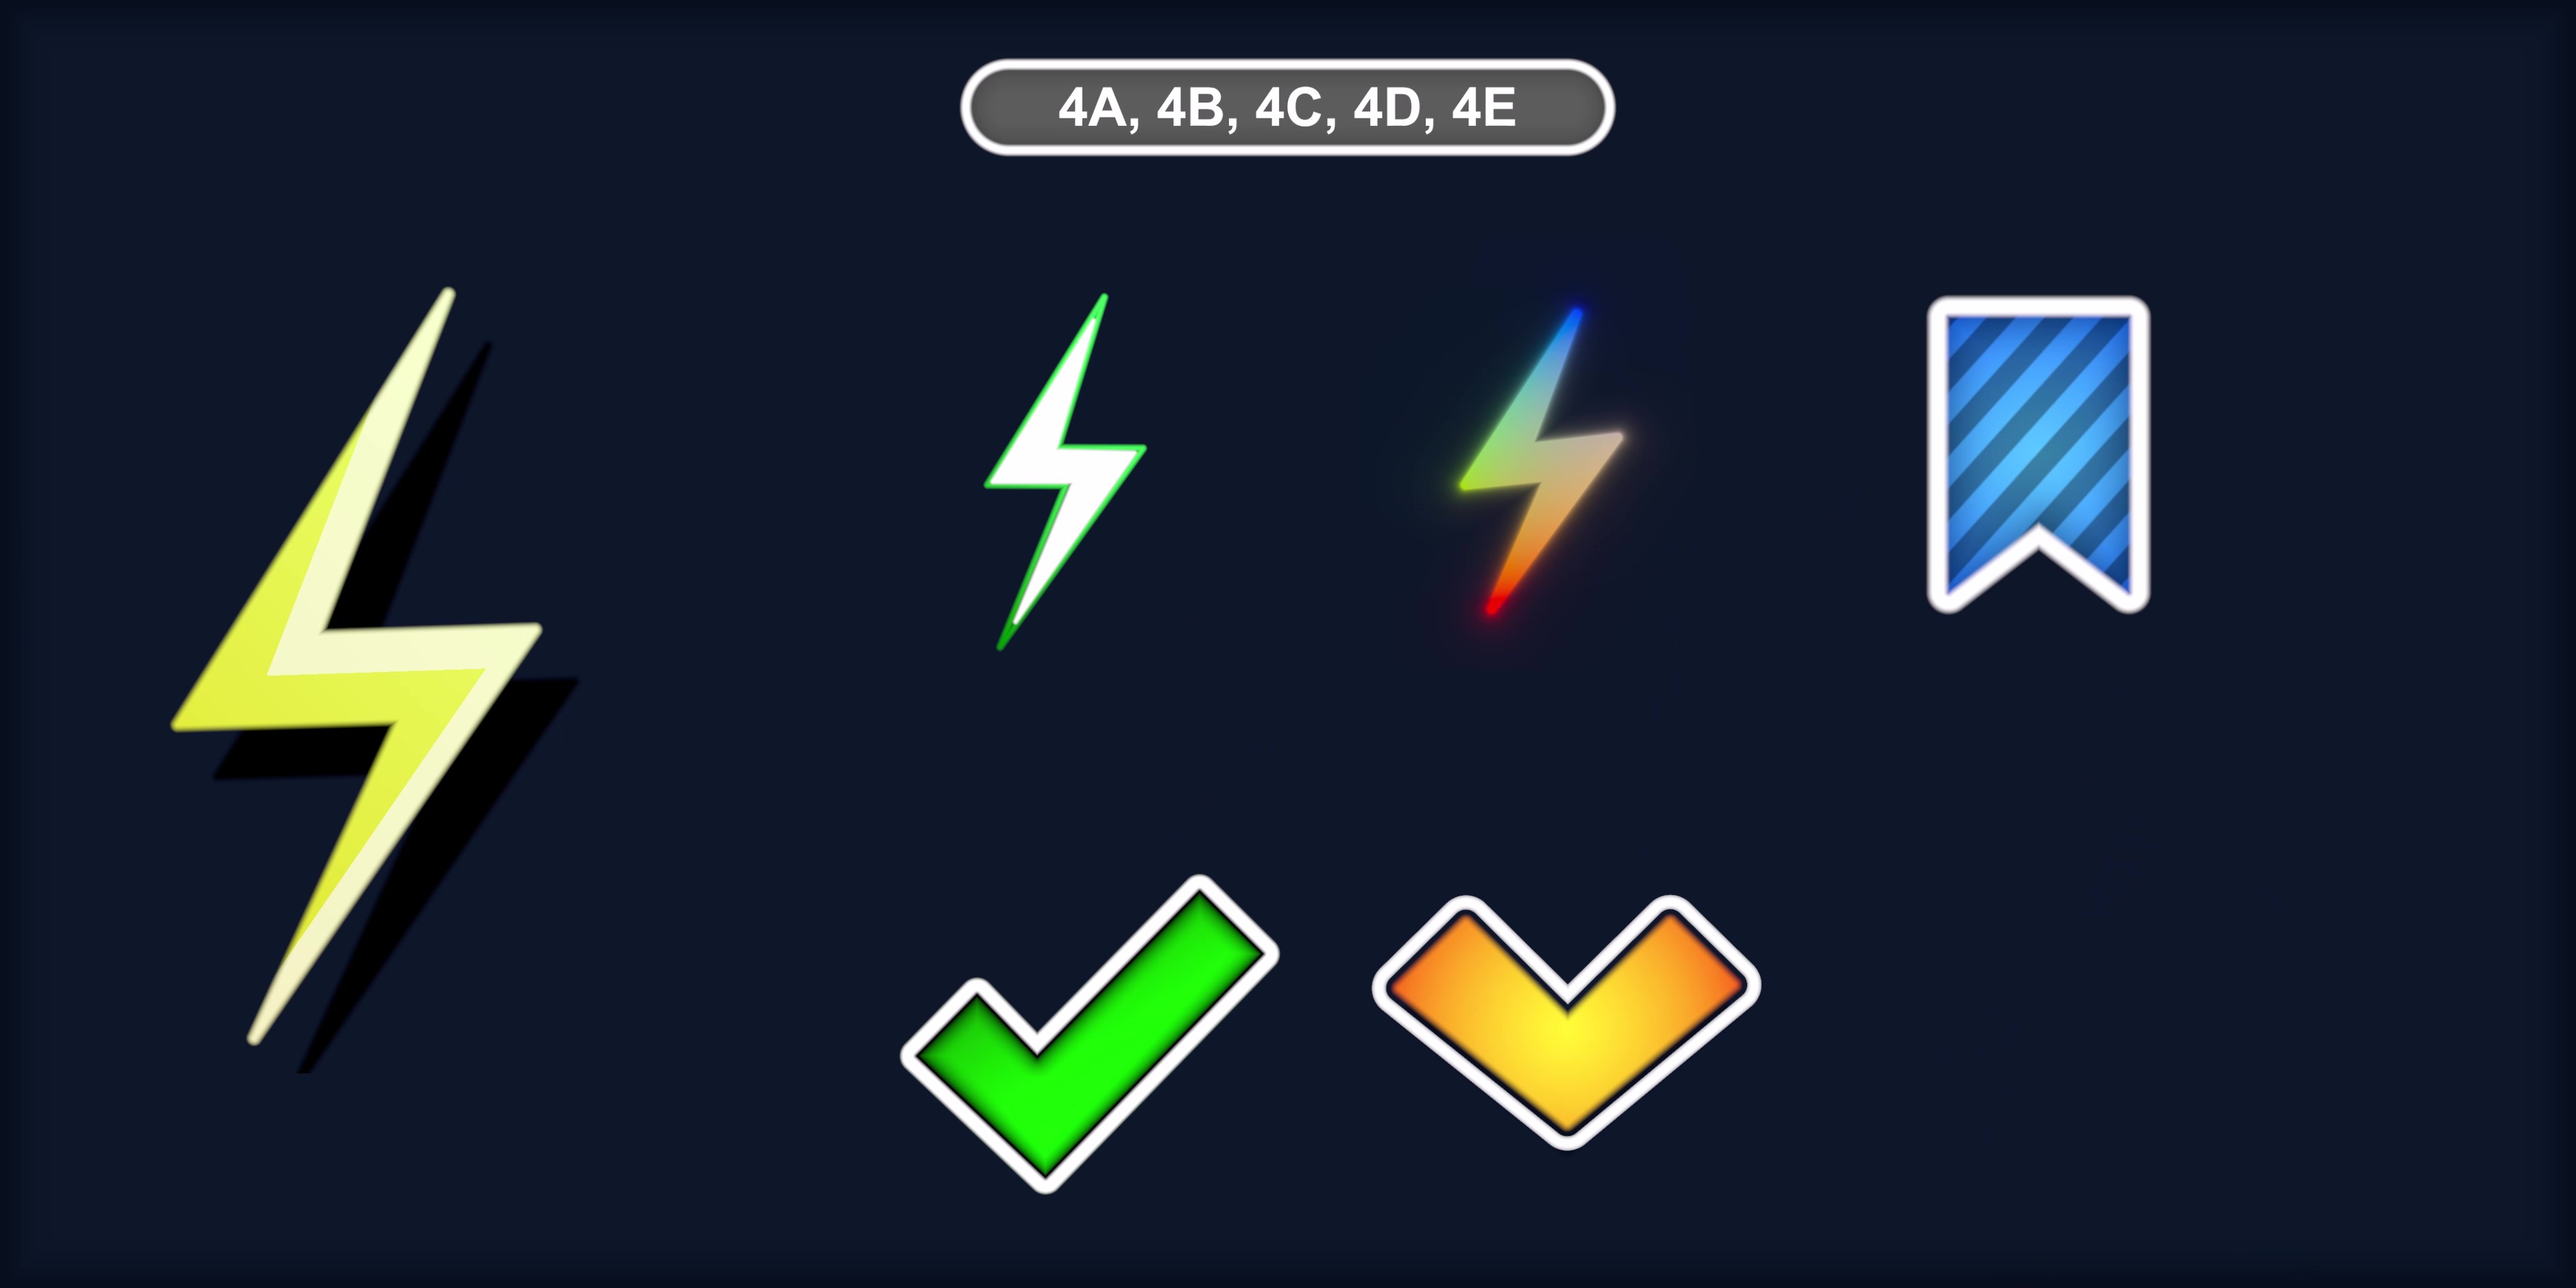
4A, 4B, 4C, 4D, 4E
With these elements you could create any shape by adjusting the points positions. You could adjust the points positions from material inspector or you could use a polygon editor for this purpose.
4A - Color Gradient, Fill Amount
4B - Color Gradient, Bloom Effect
4C - Color Gradient, Drop Shadow
4D - Color Gradient, Texture Overlay, Lines, Border, Inner Shadow, Drop Shadow
4E - For reflection layer.
You could check out these youtube tutorials for these UI Elements
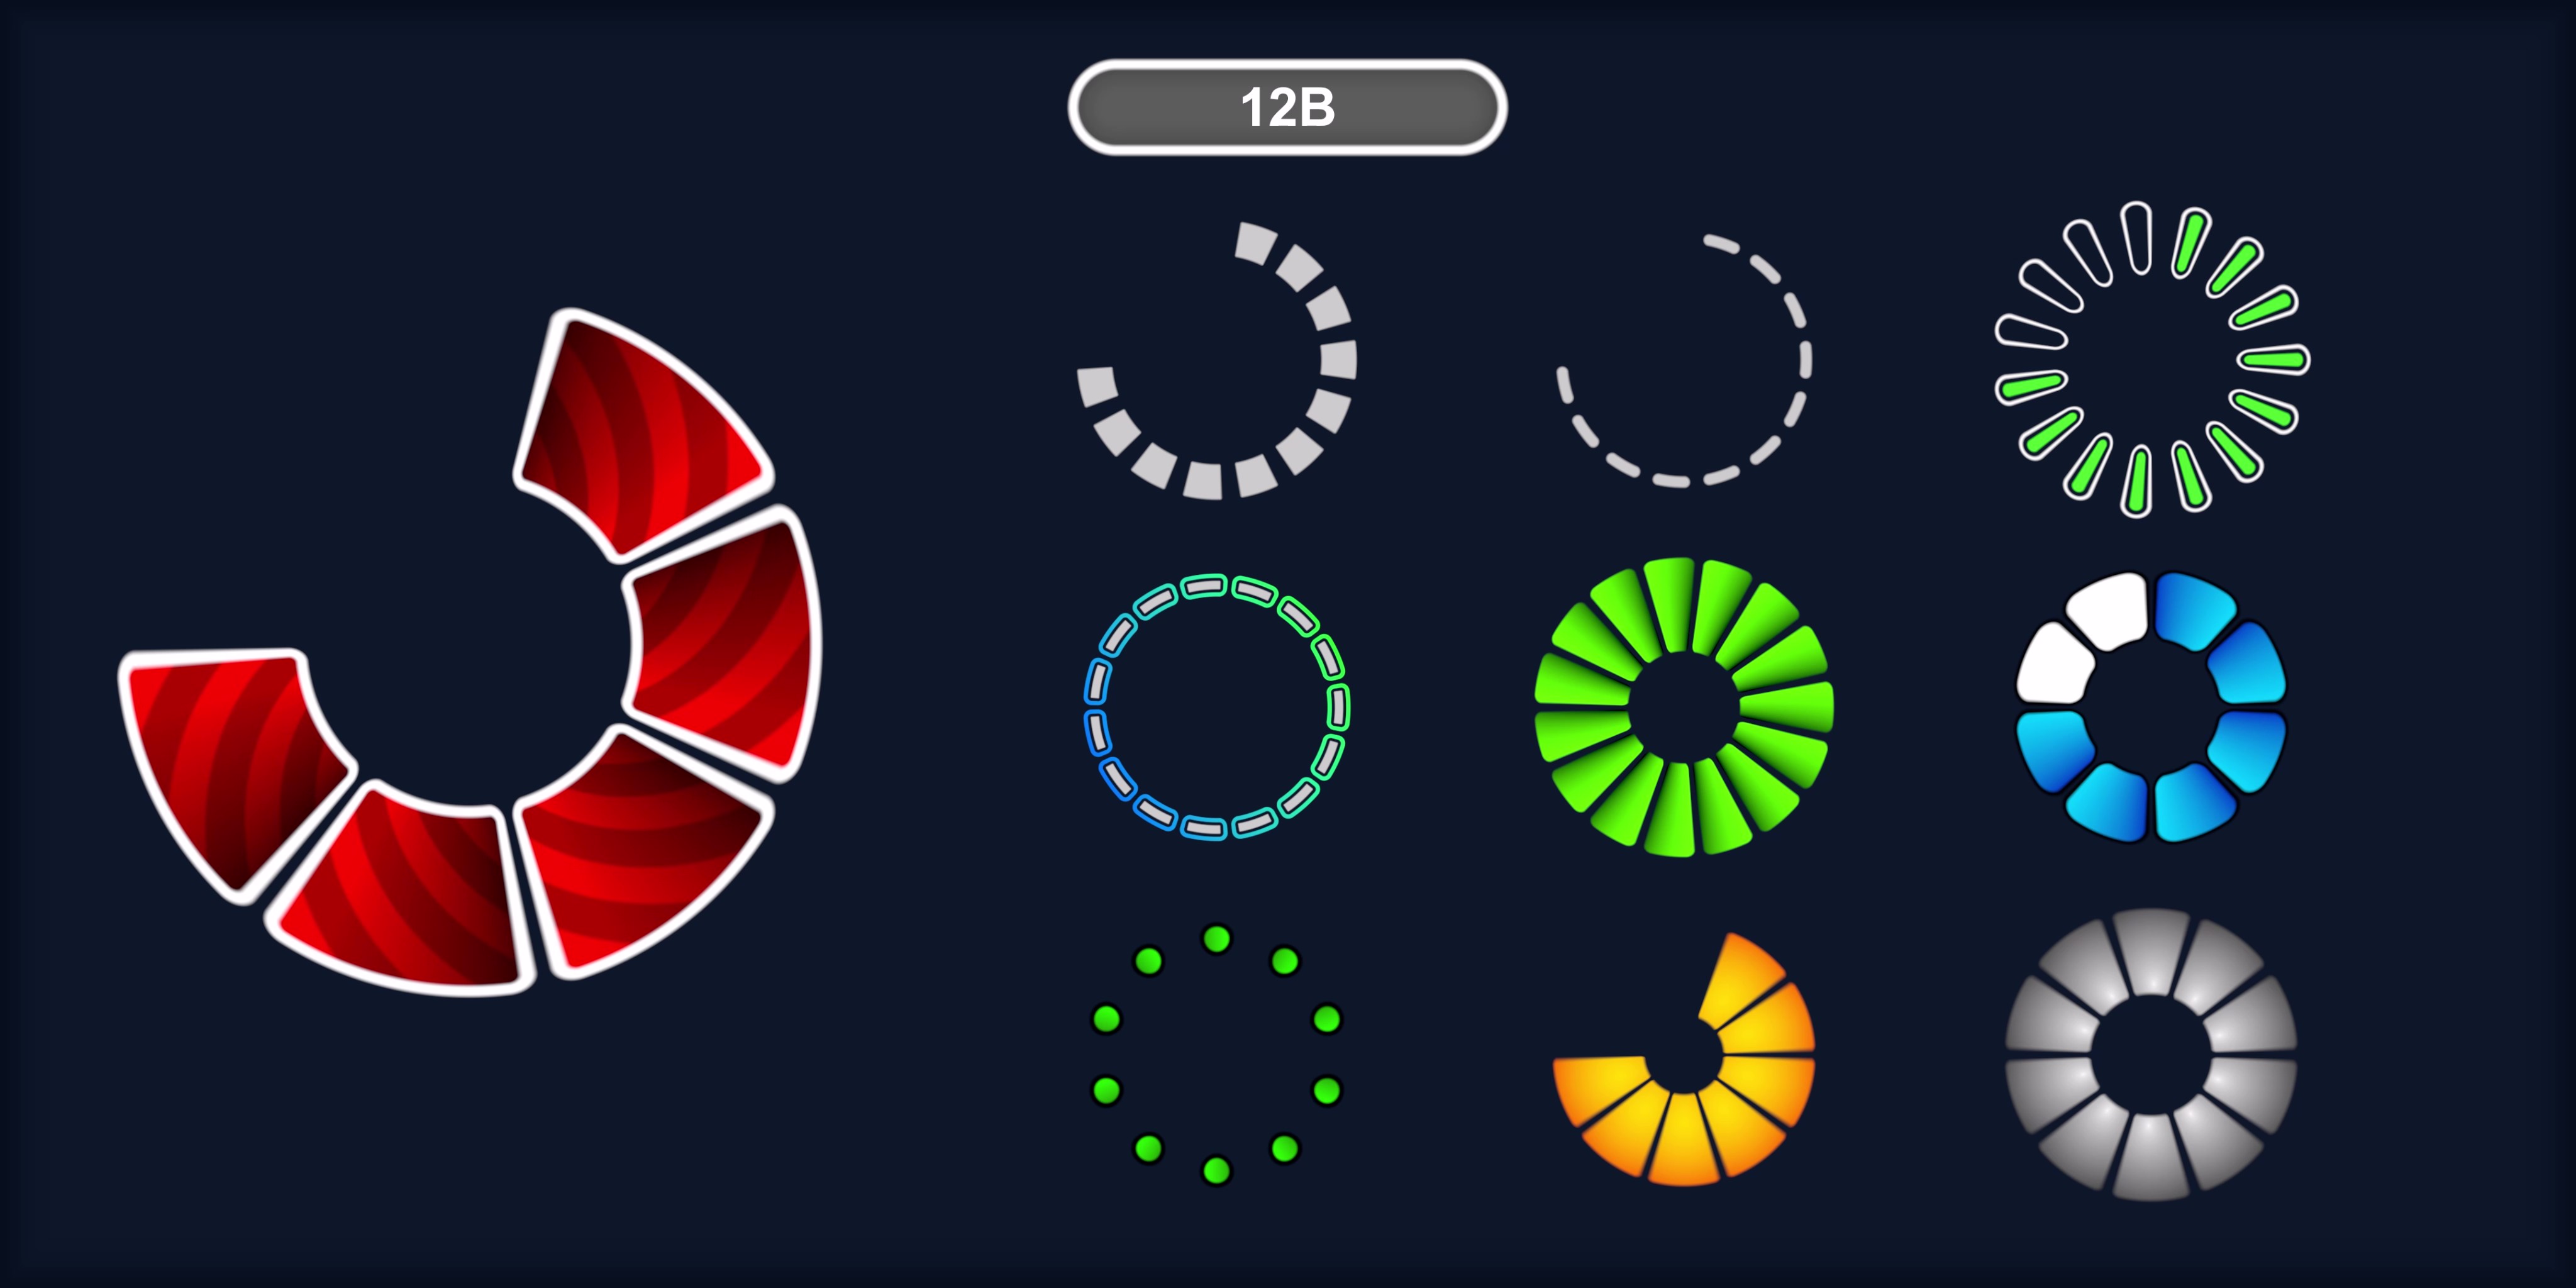
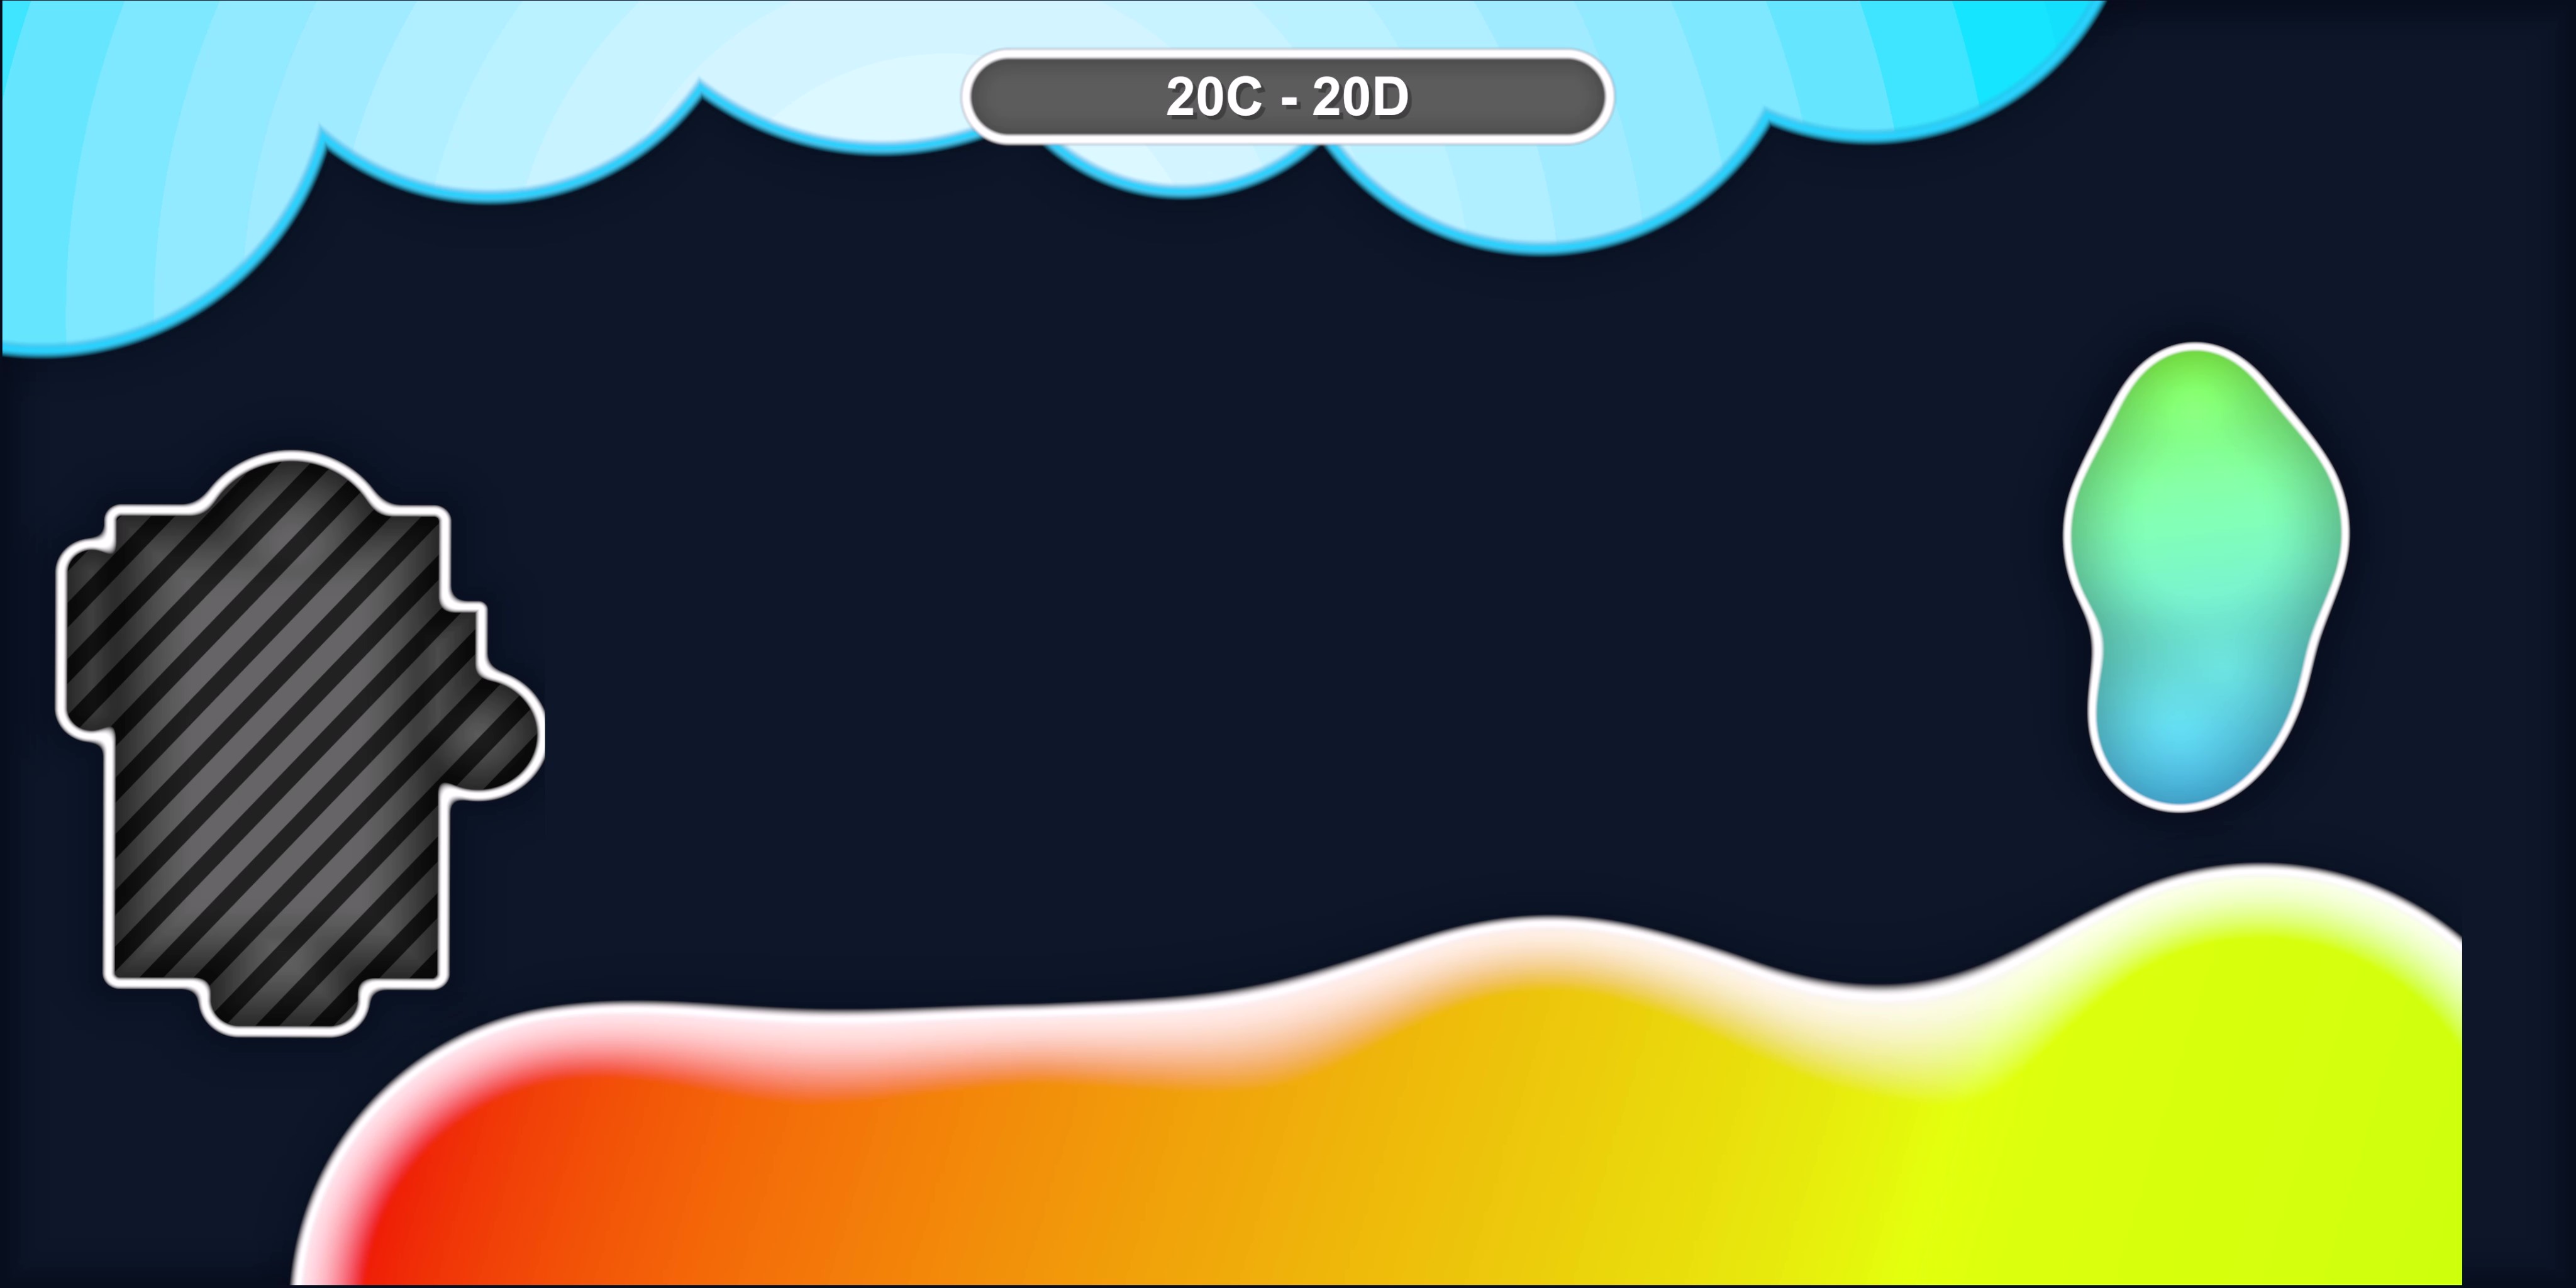
20B, 20C, 20D
You can create a lot of different shape with this UI Element, like Clouds, Loading, Panels and fluid etc.
20B - Color Gradient, Bloom Effect
20C - Color Gradient, Drop Shadow
20D - Color Gradient, Texture Overlay, Lines, Border, Inner Shadow, Drop Shadow
Type Of Shader Effects / Image Effects
Fill Amount It has three modes, Linear, Clockwise and Anticlockwise.
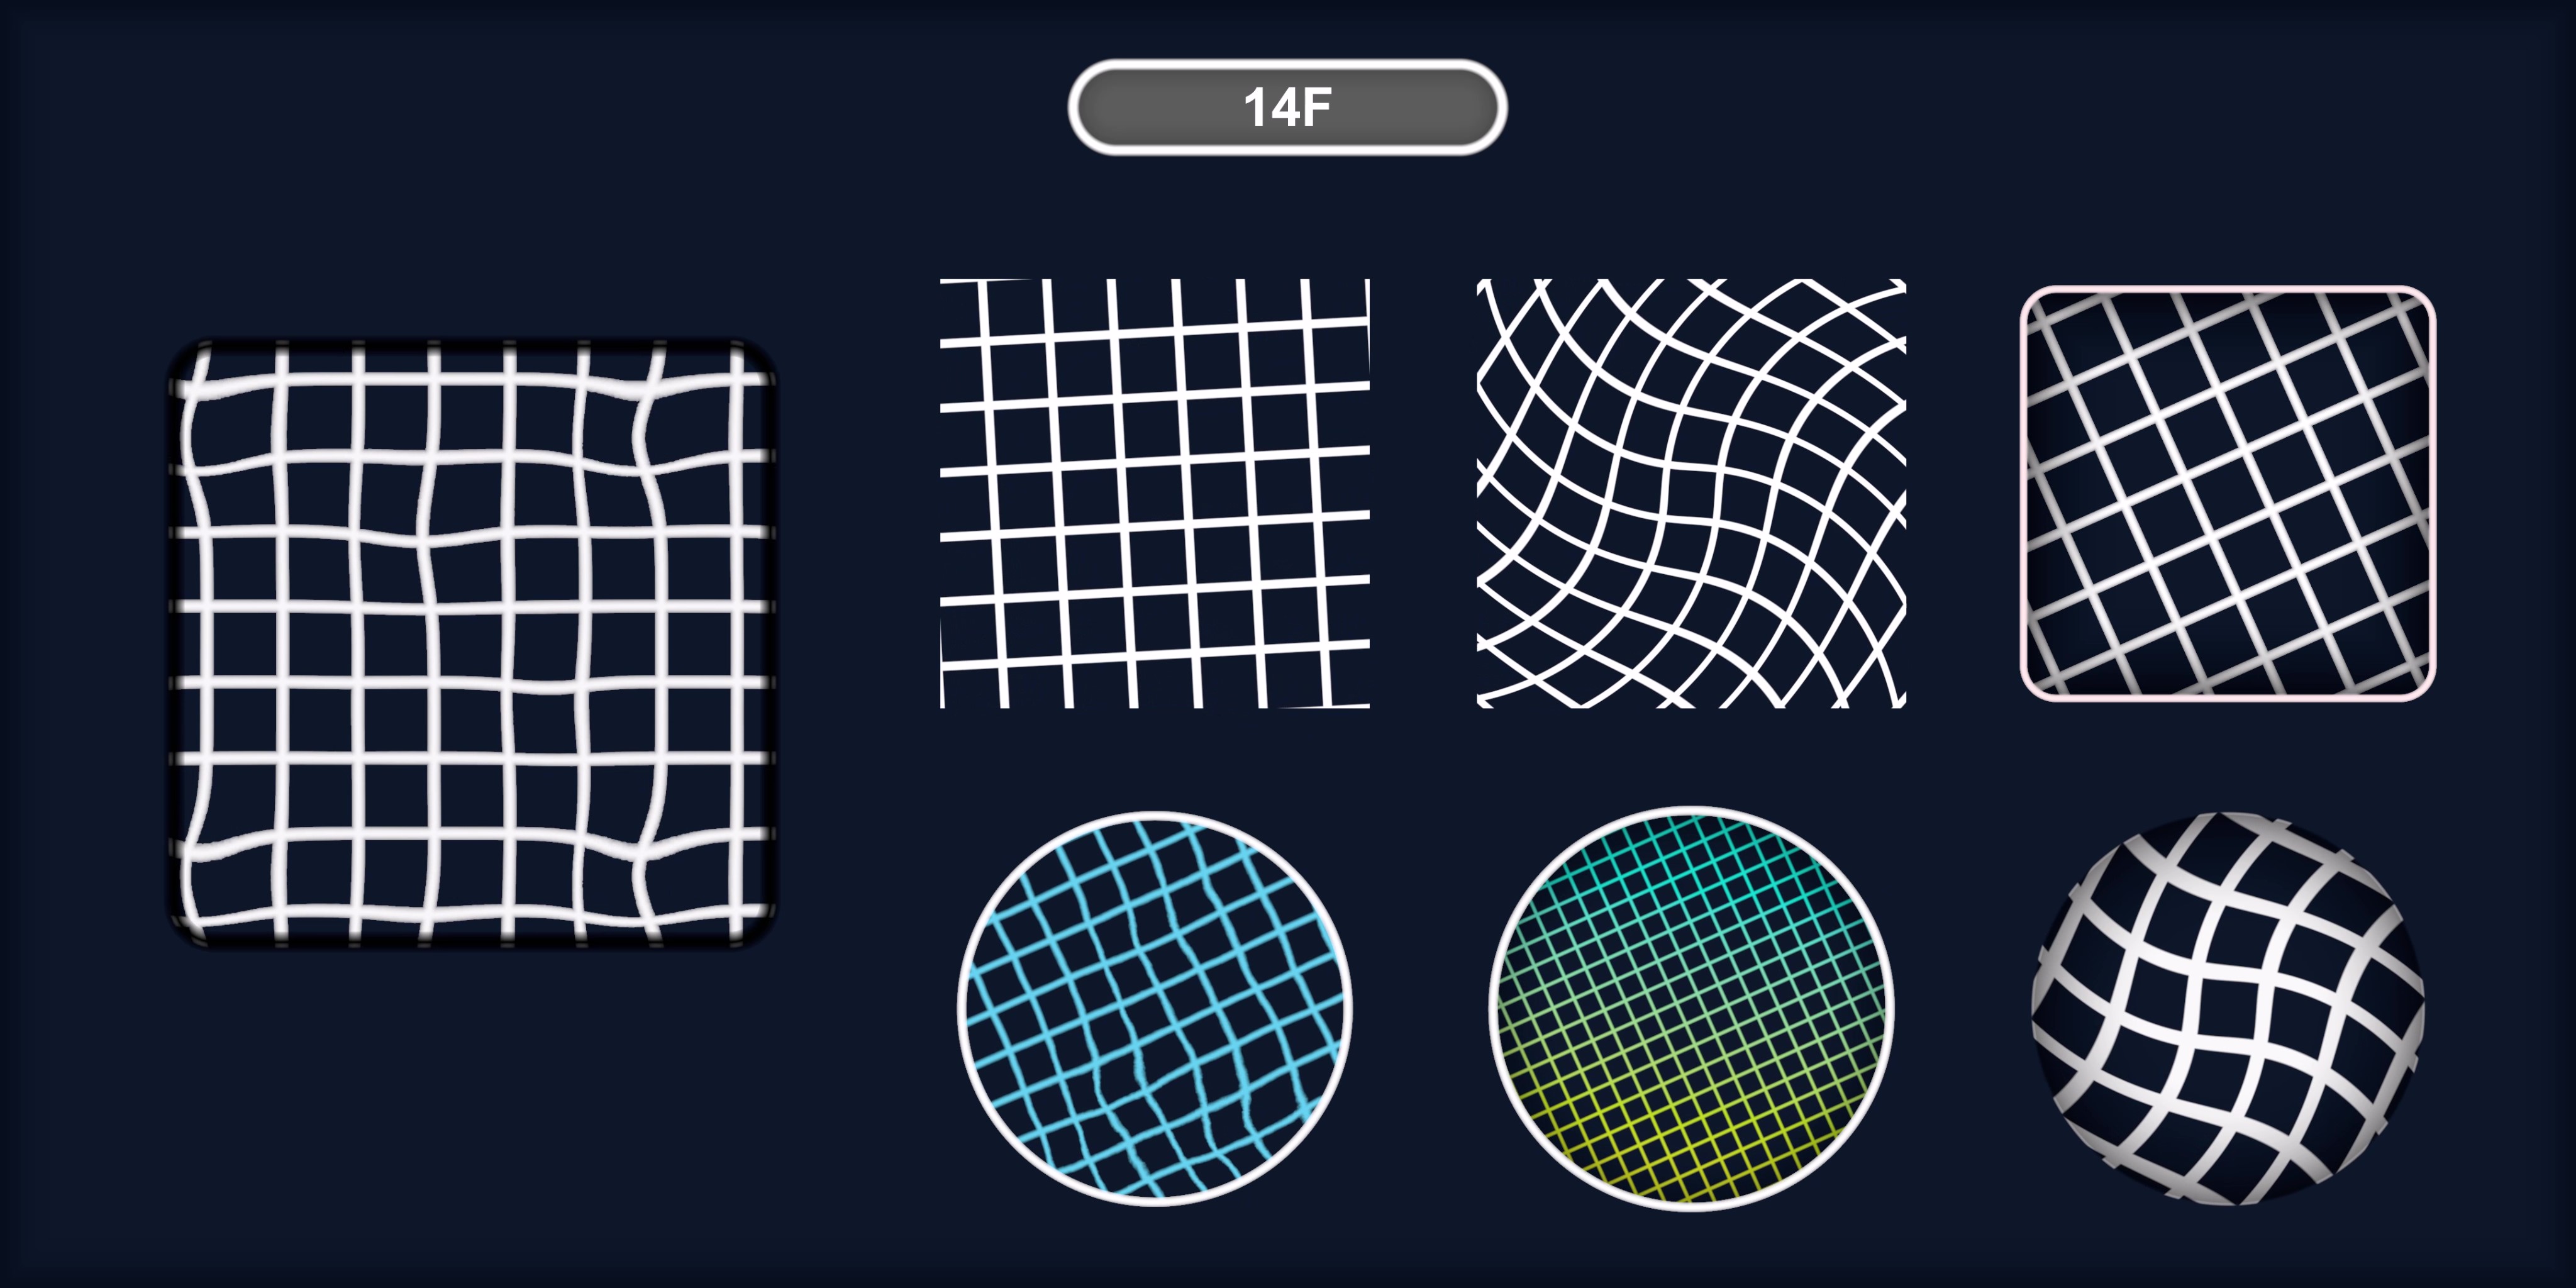
Shape Bending With this feature you can bend the shape symmetrically and asymmetrically.
Color Mode It offers five color modes.
Color : Simple Color
Texture : You can apply texture
Radial Gradient : You can scale the gradient and offset the gradient center, also can make it toon style.
Linear Gradient : You can scale the gradient, change the angle, change the gradient center, also can make it toon style.
Sharp Boundary : You can change the boundary position and sharpness of the boundary.
Displace Shape Layer You can displace the color mode layer and can adjust the sharpness of the boundary between two layer.
Texture Overlay Texture added as overlay, you can rotate, scale and clip the texture.
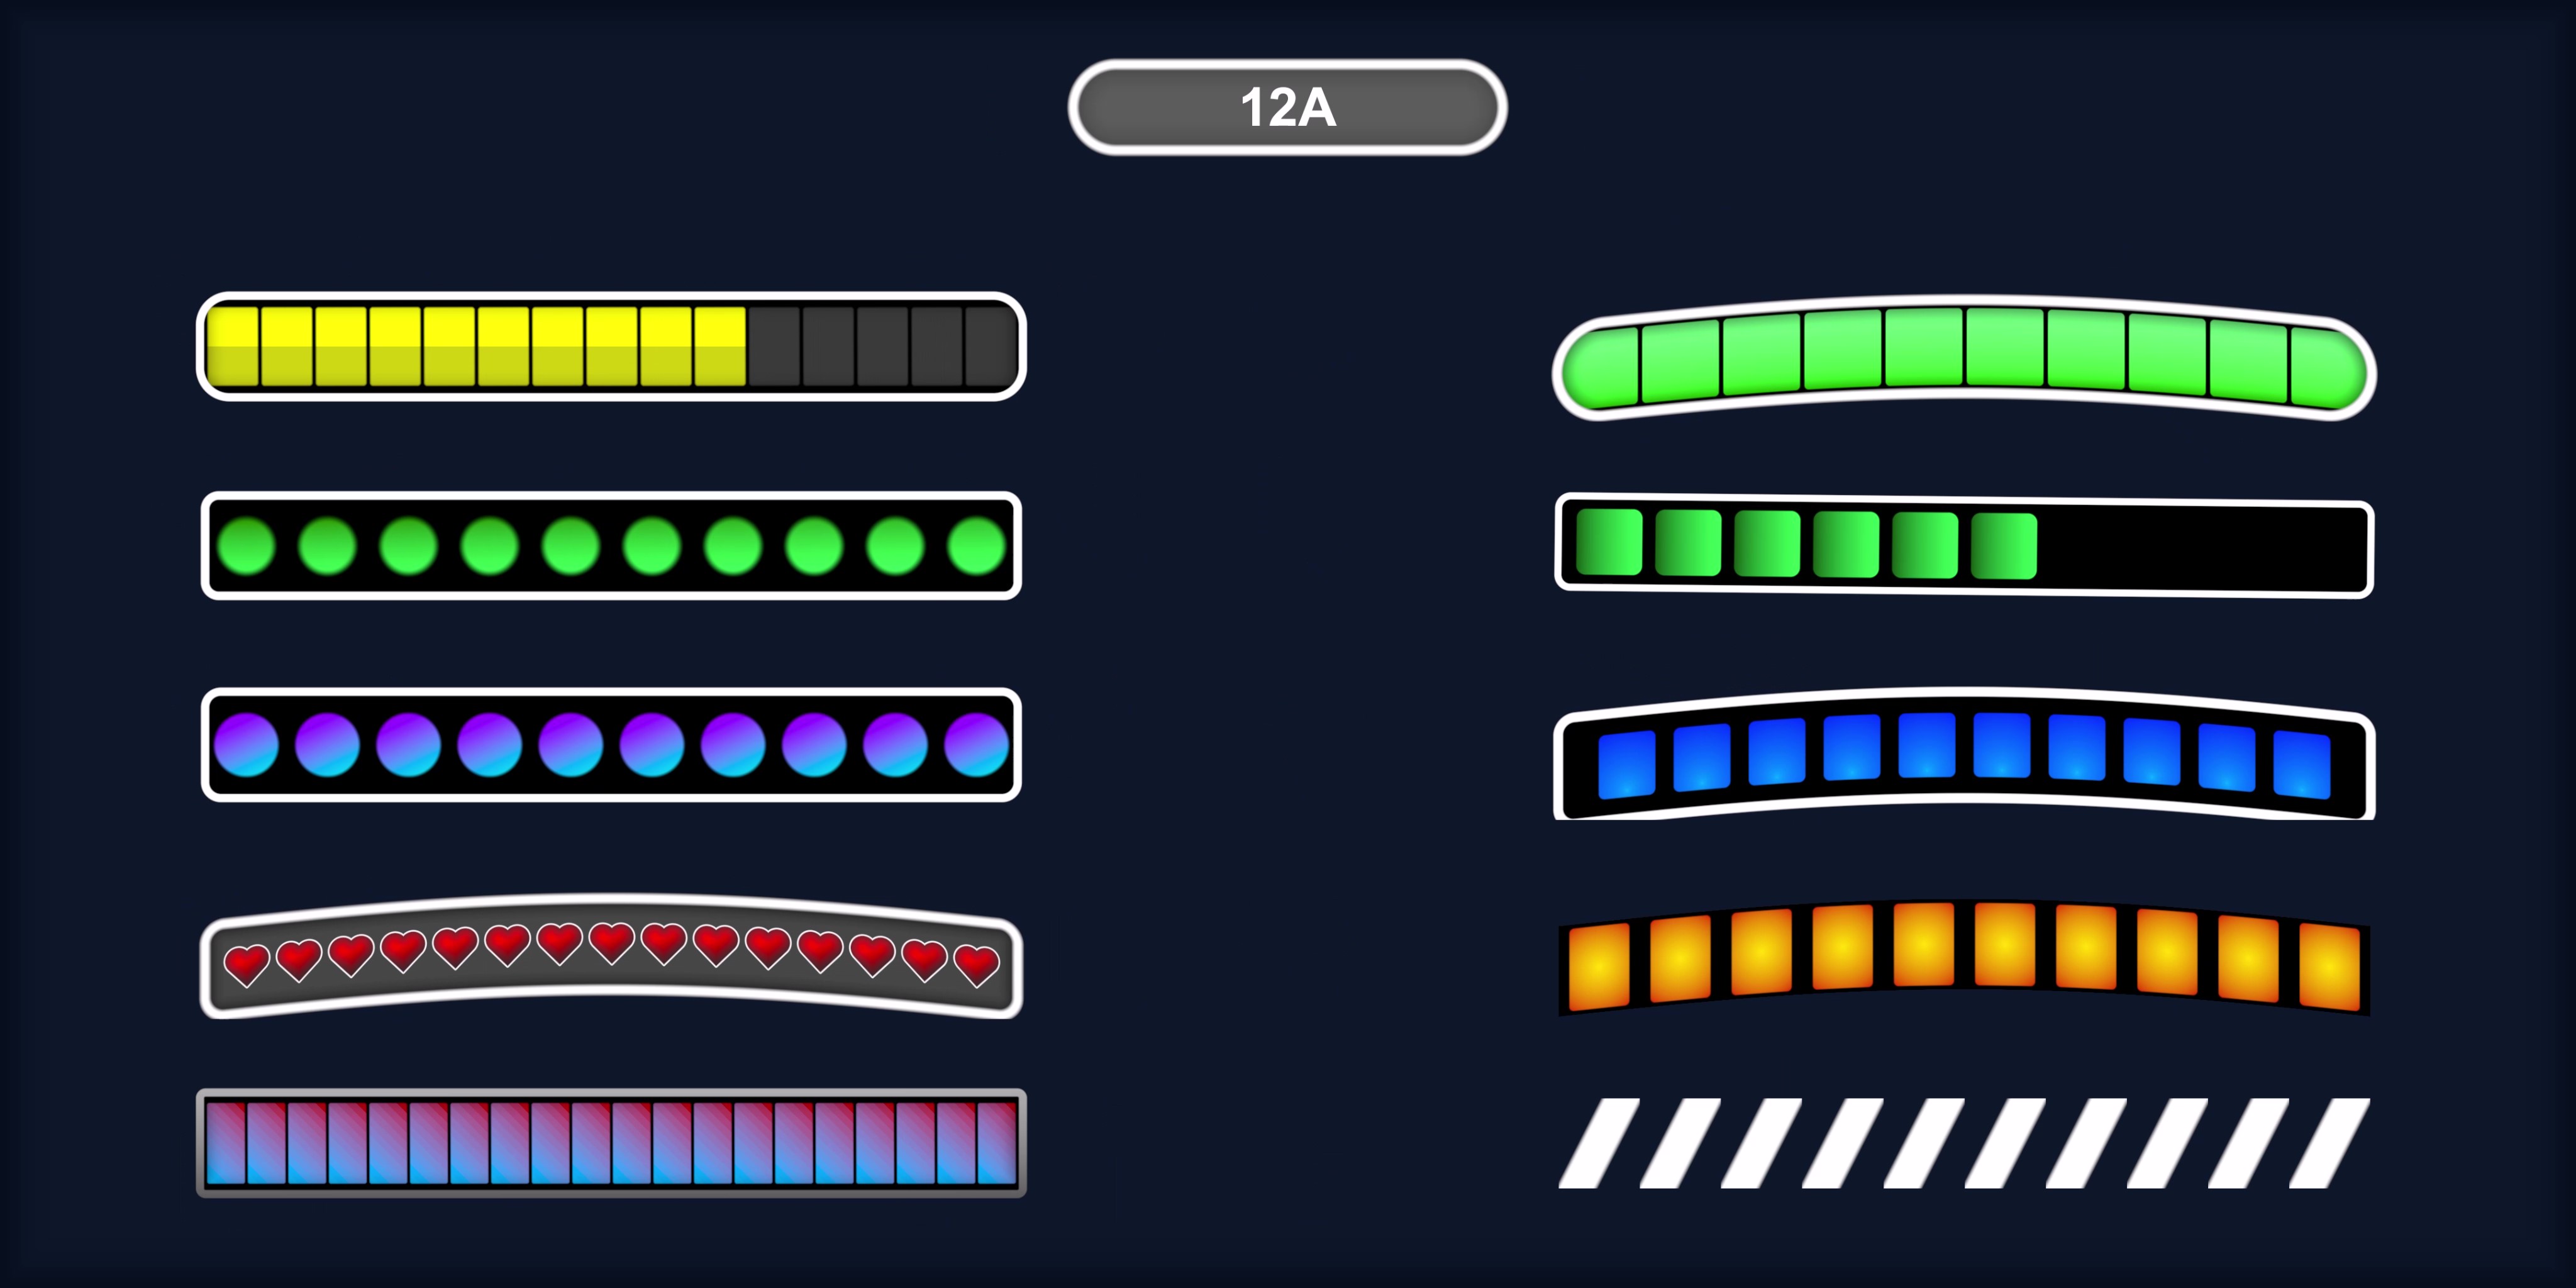
Lines Overlay Offer three types.
Linear
Radial
Spiral
Inner Shadow Offer two color modes simple and gradient.
Border/Stroke You can change the border width, offset and edge blur. It also offers two color modes simple and gradient.
Drop Shadow Offer two color modes simple and gradient.
Reflection It has three modes.
Circle : You can change the radius, opacity, edge blur and position offset.
Line : You can change the line's width, edge blur, rotation and opacity.
Double Line : You can change the line's width and separation between them
You can animate the line and double line, by adjusting the speed and delay of animation.
Reflection shaders for different shapes are listed below.
UI Element 1E : Cirlce and rings
UI Element 2E : Rectangle, cube and capsule
UI Element 3E : Polygone, Stars etc.
UI Element 4E : Points based Polygone
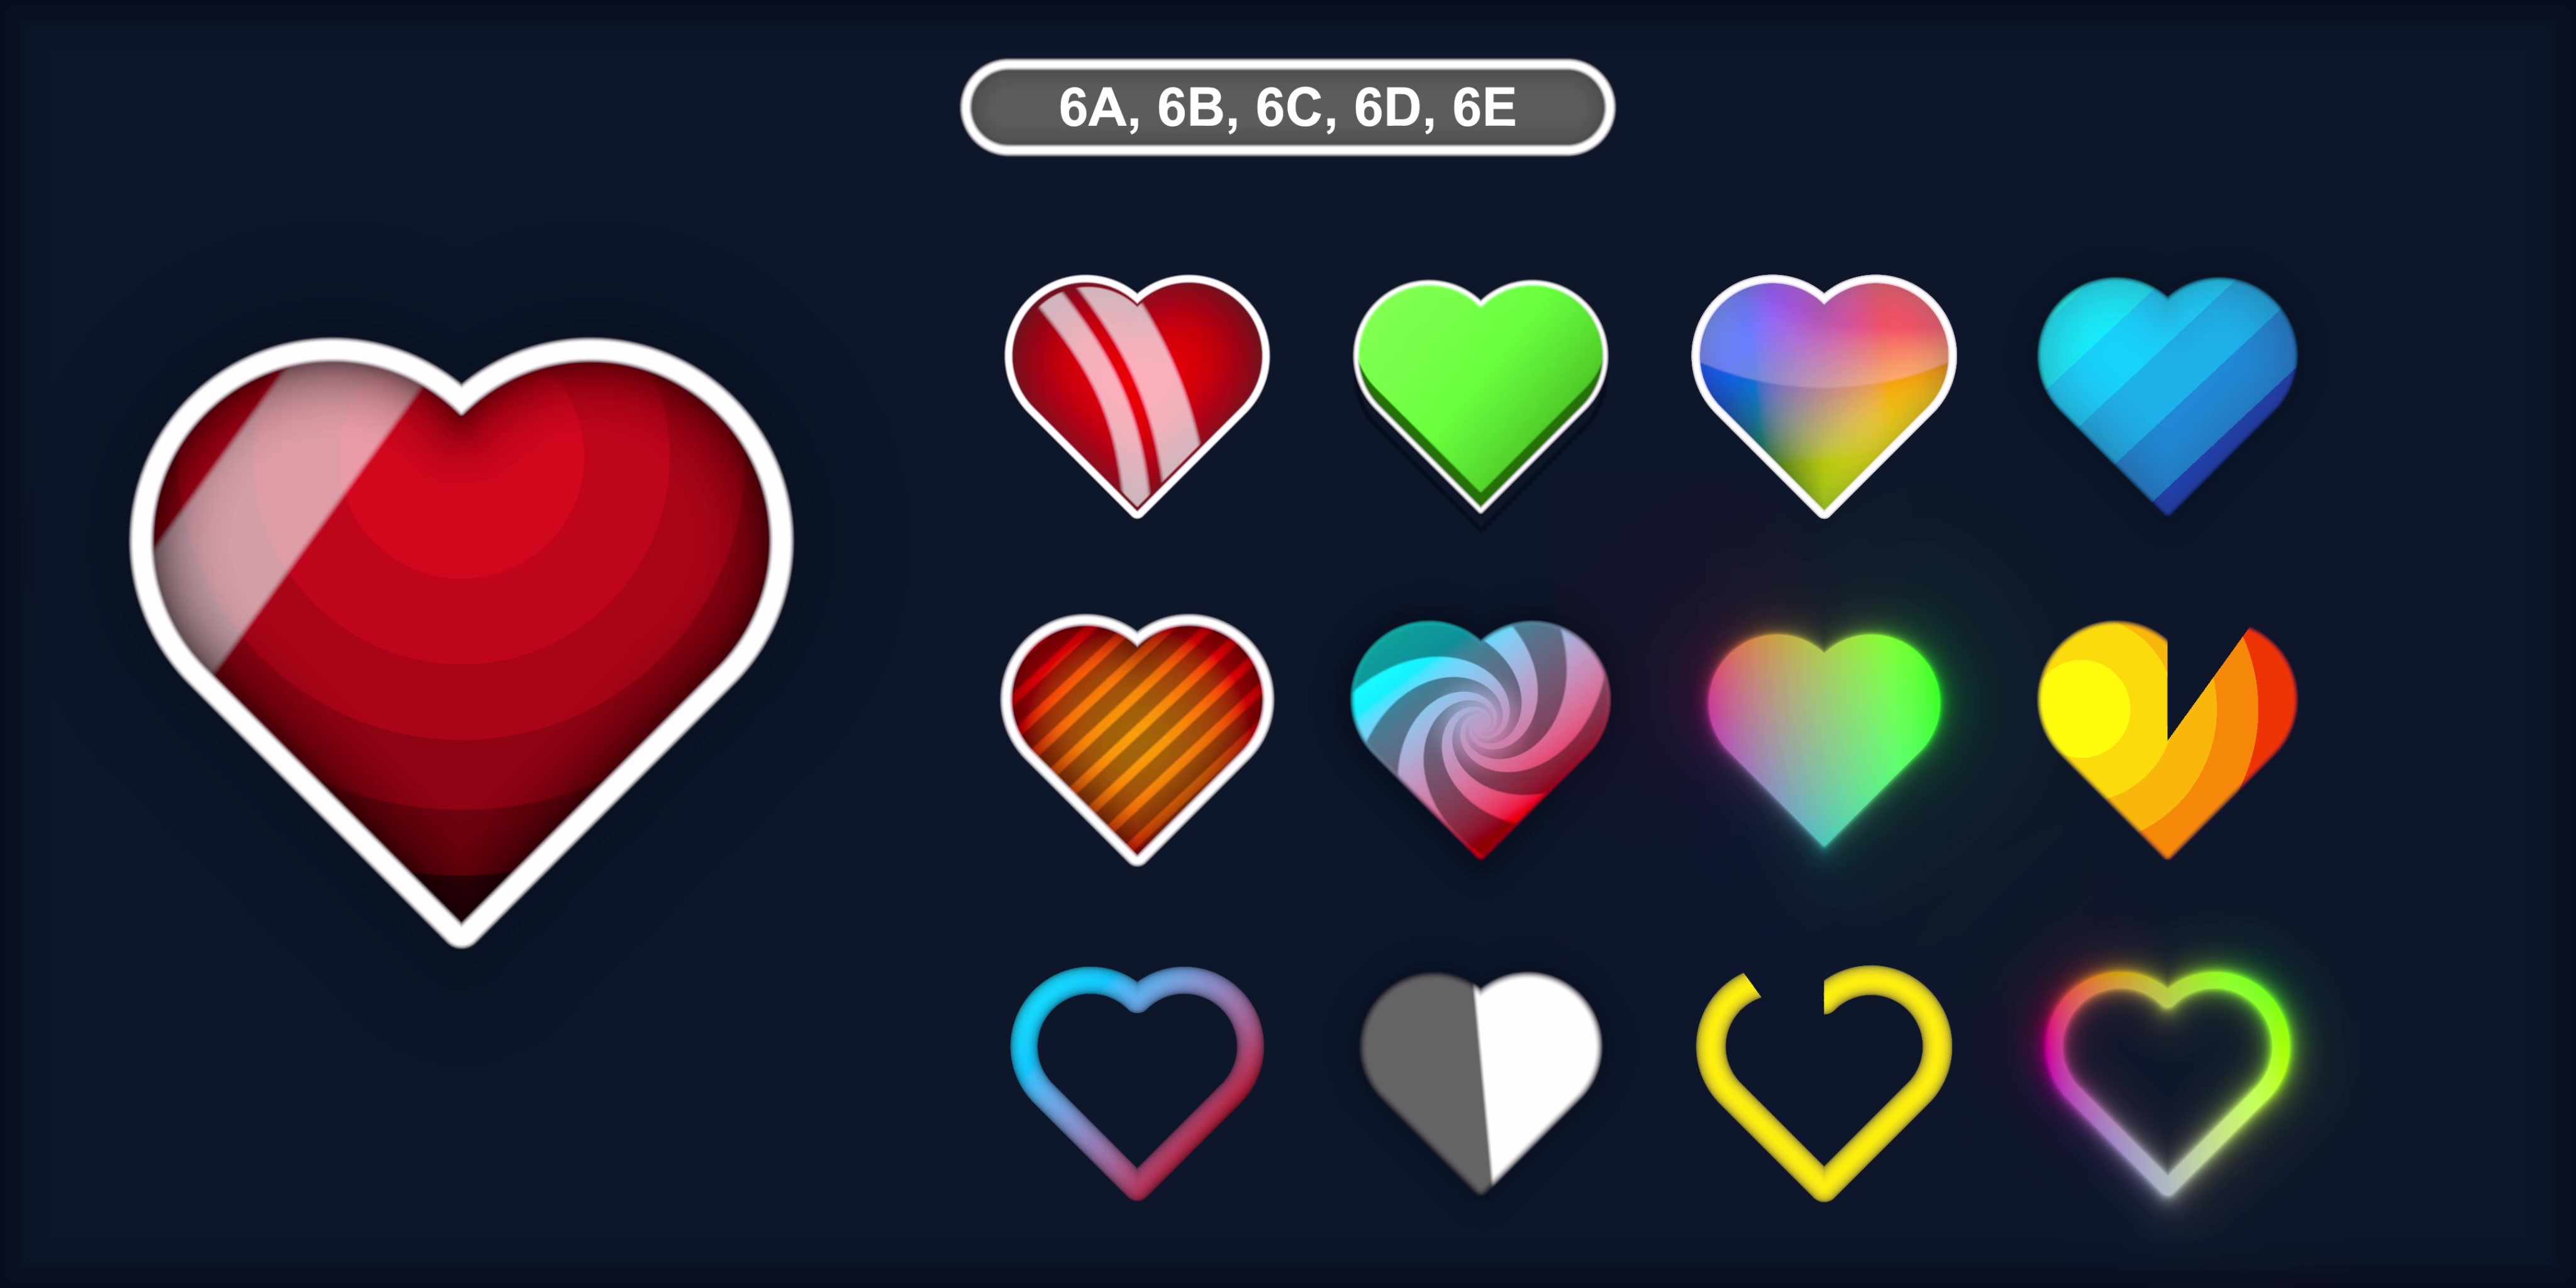
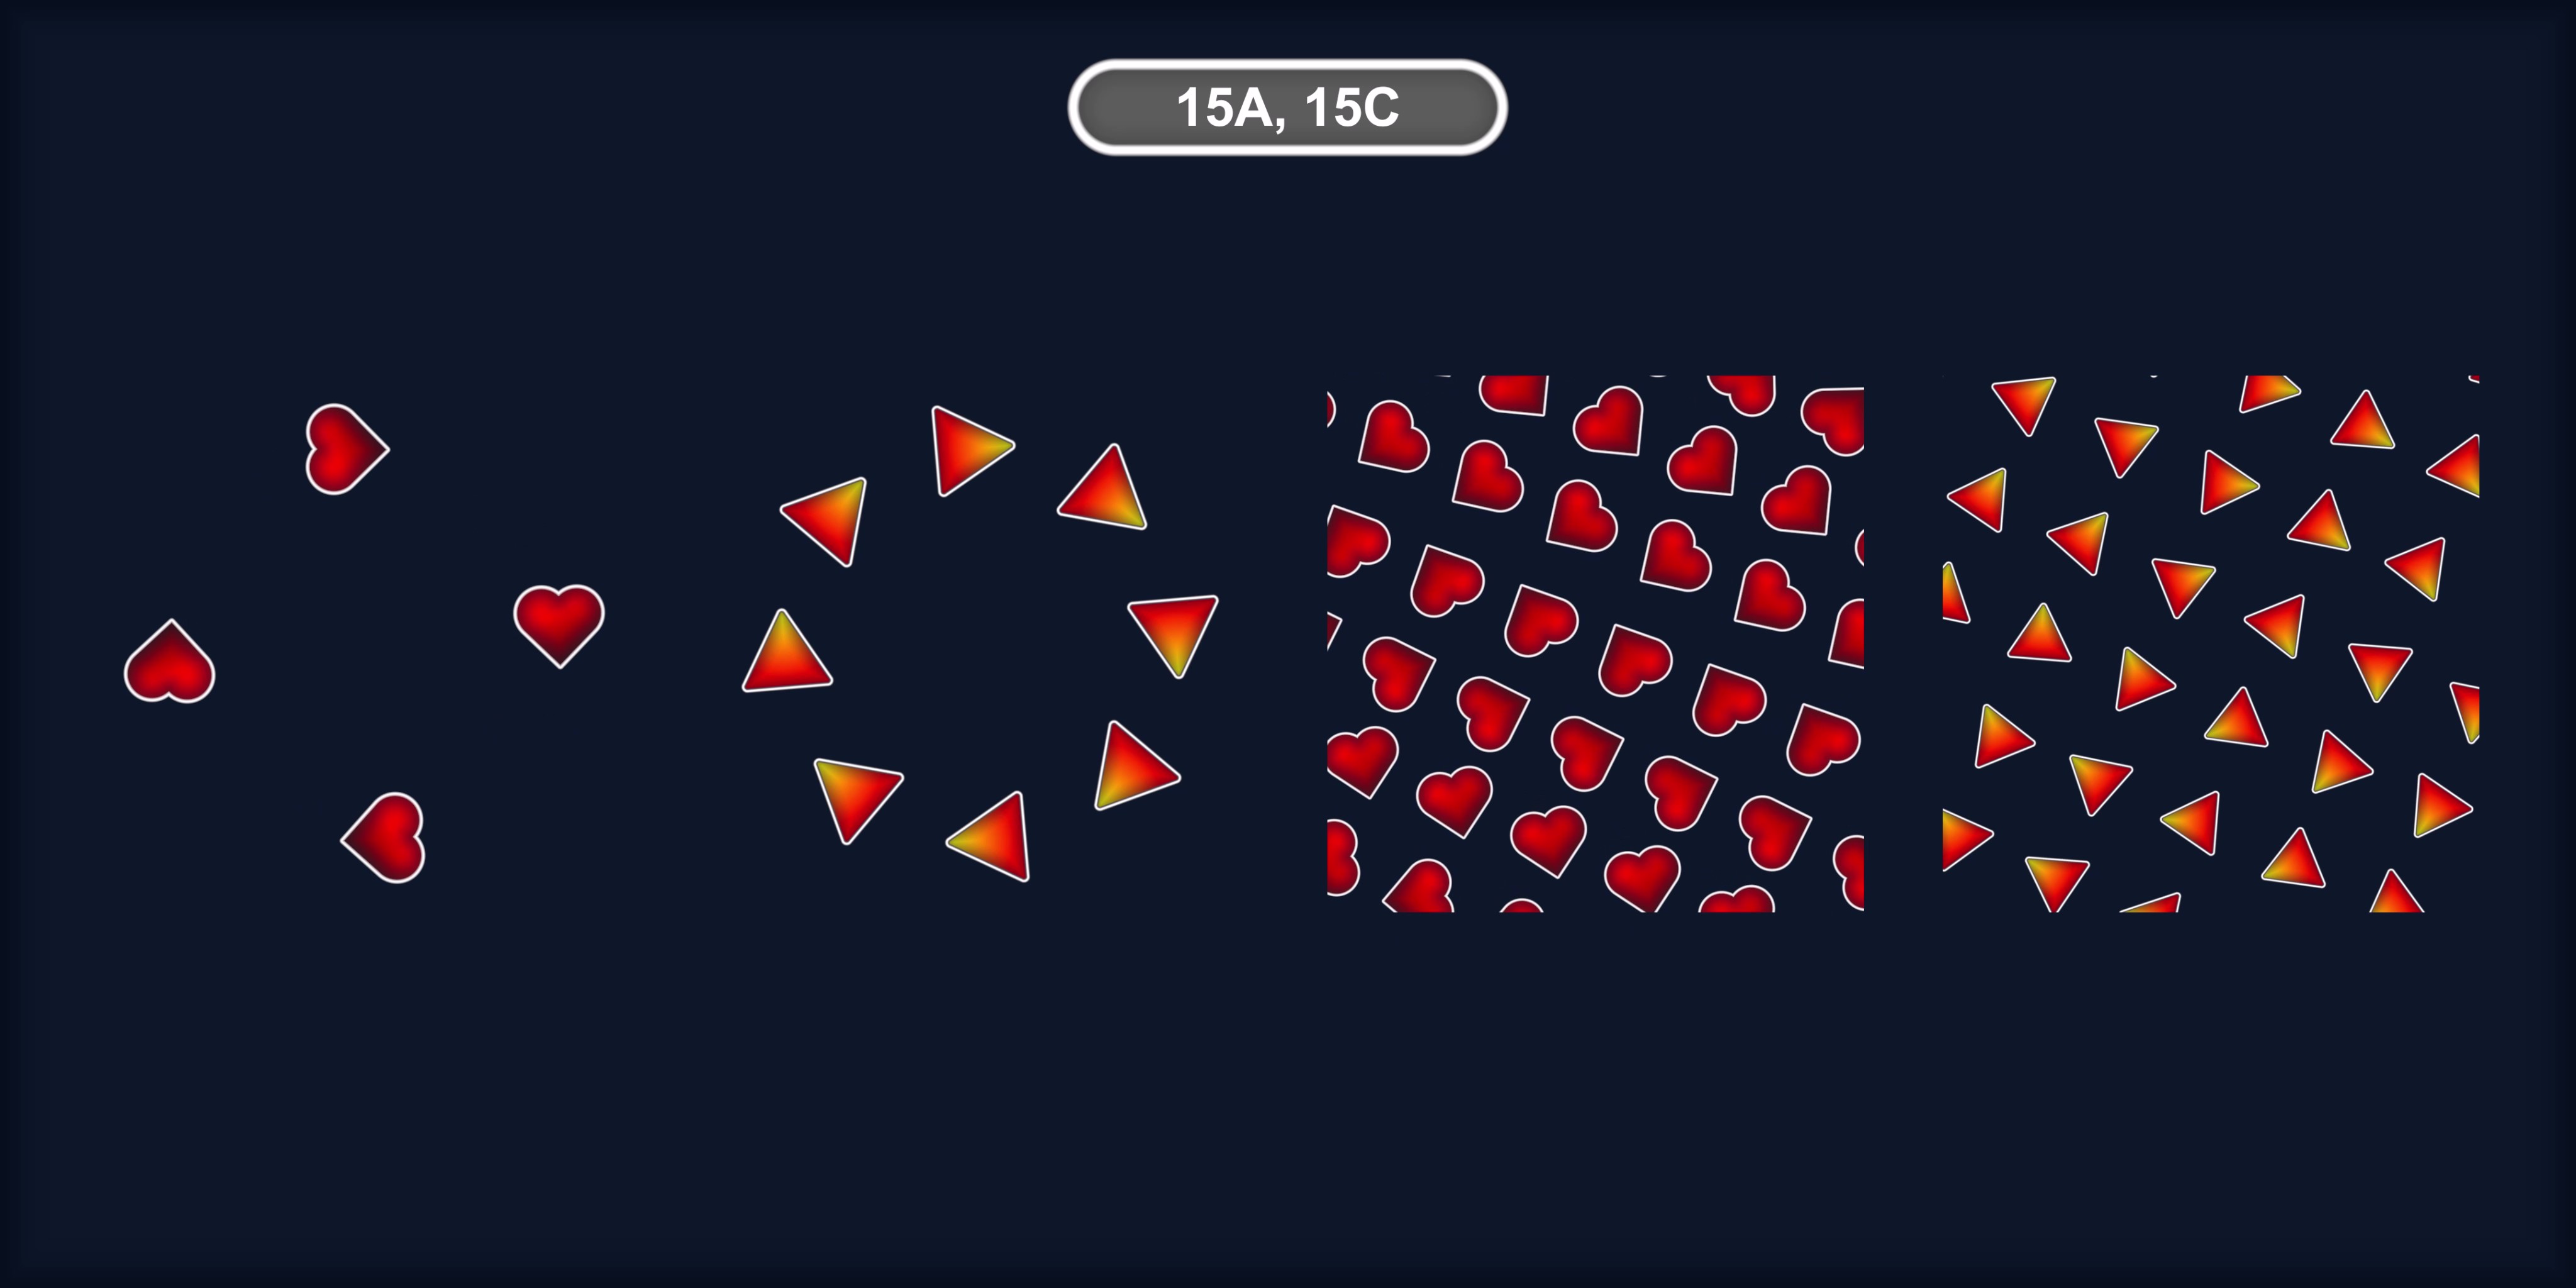
UI Element 6E : Heart Shape
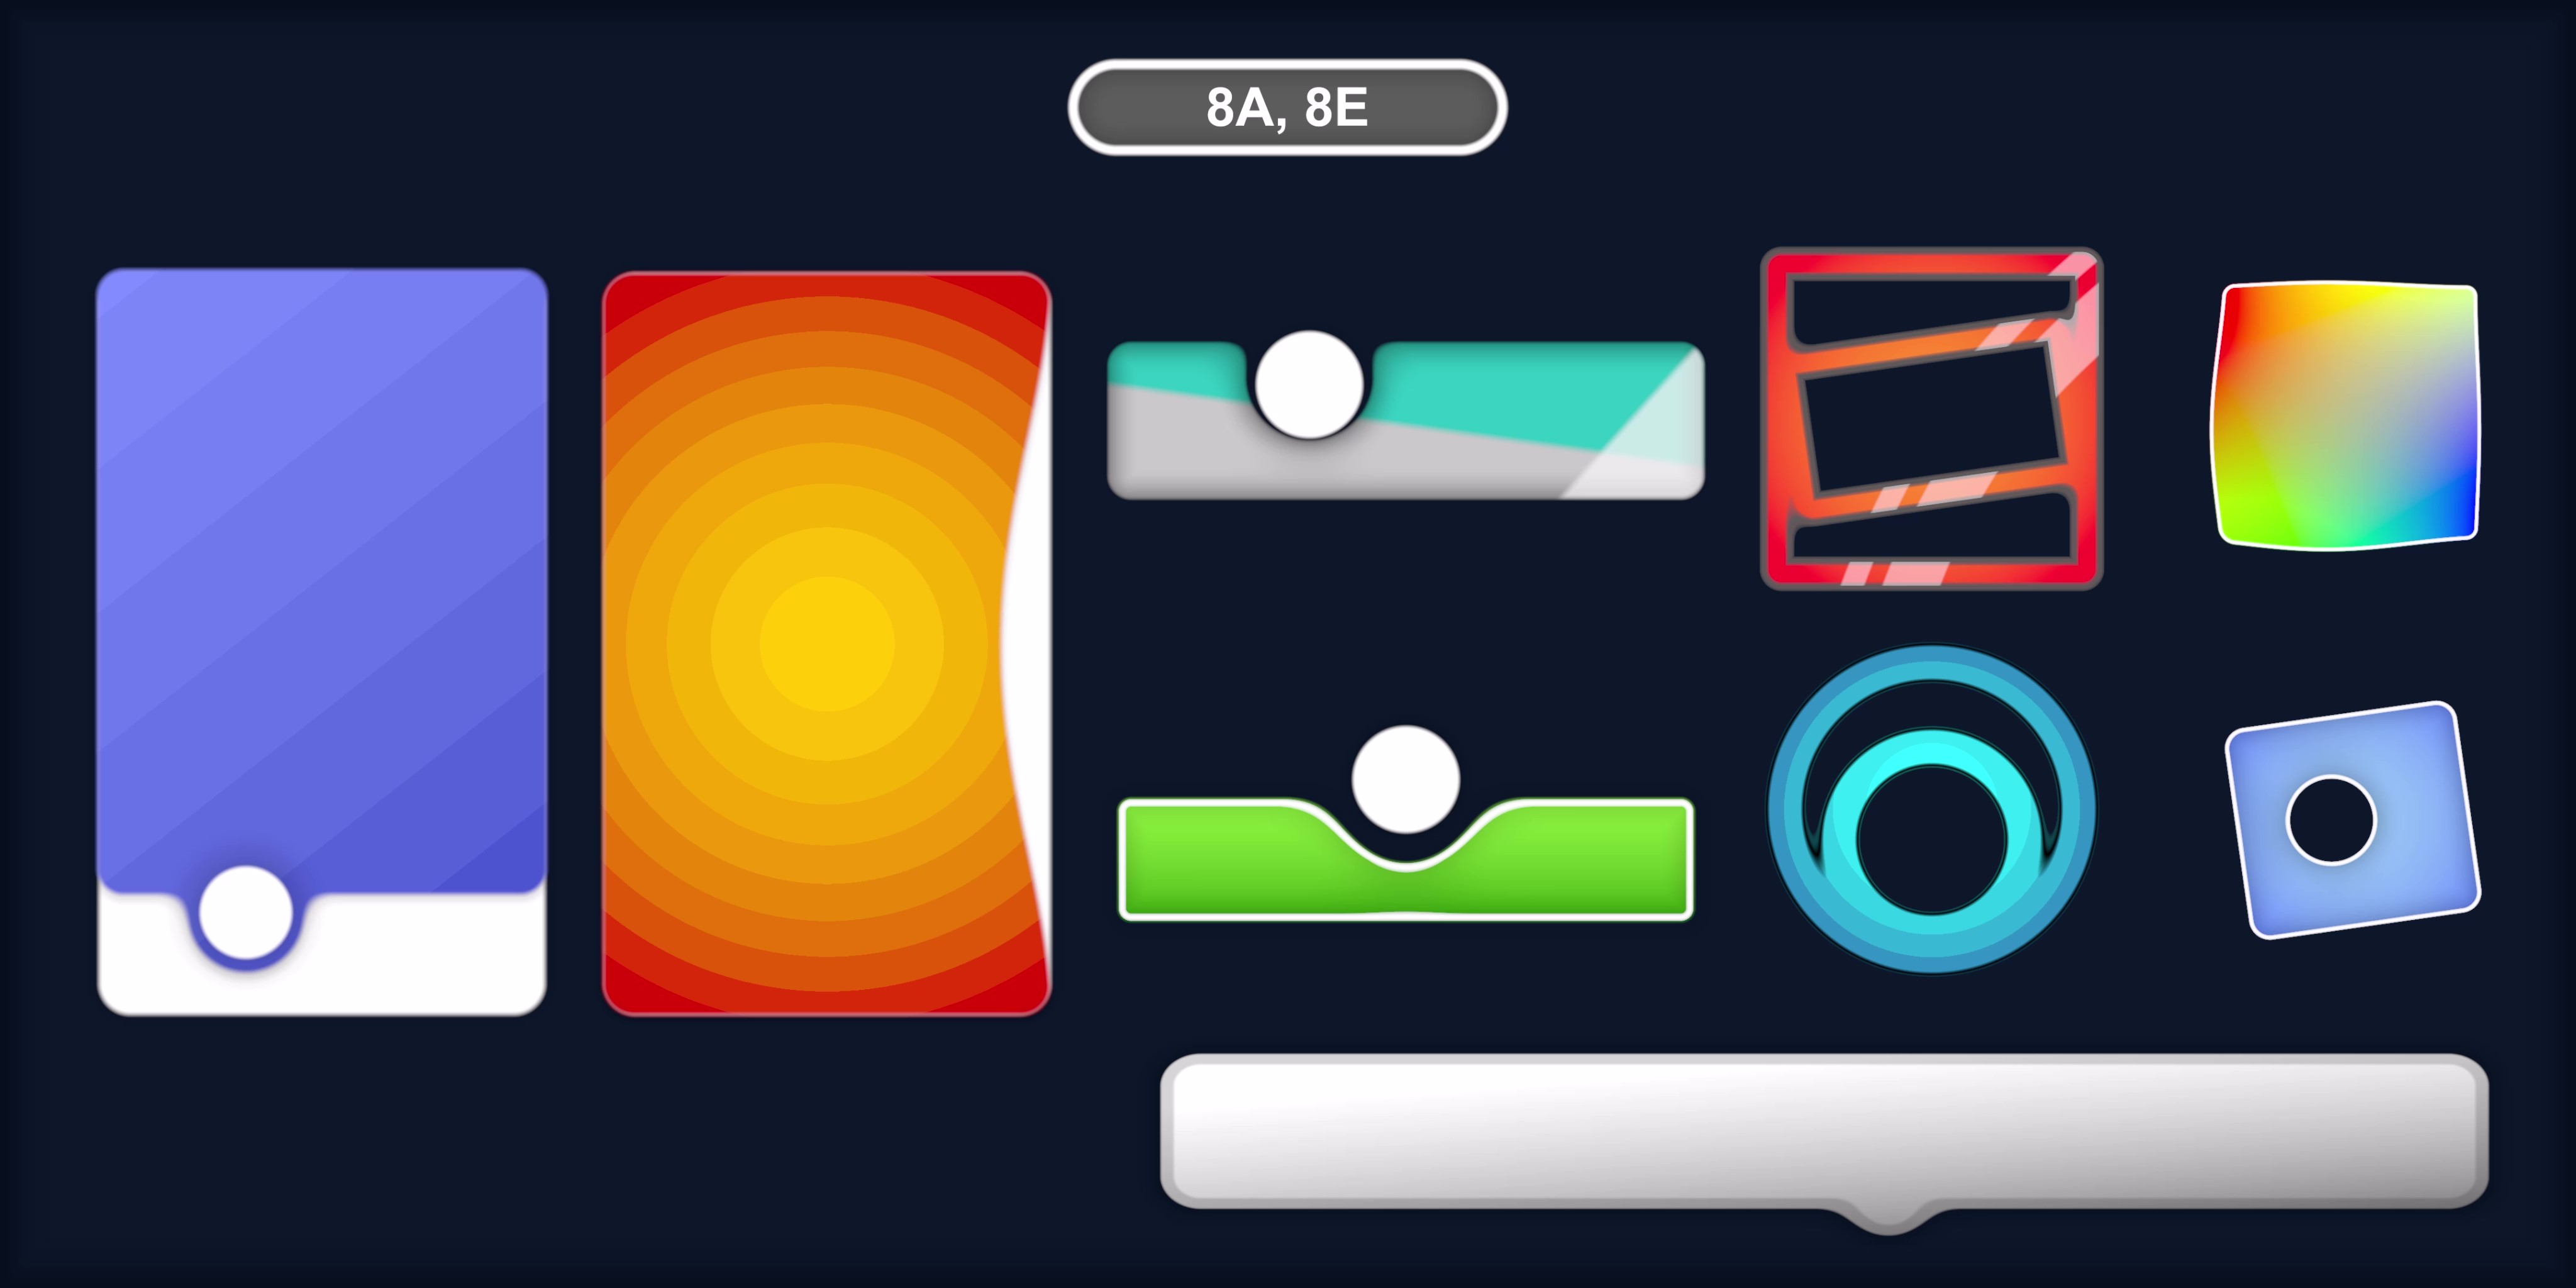
UI Element 8E : Blended Shapes
In this example we will explore the UI Element 2E.
Tools
Convert Material/UIShader To Image File (PNG)
Create a new gameobject and apply MaterialToImageConvertor_PUE.cs to it.
Assign the material and set the quality.
Click the SaveMaterialAsImageFile() function in context menu of inspector.
You could find the saved image file in OutputFolder.
[NOTE]
If a material has ImageSizeRatio = (512 , 512, 0, 0) and you set the quality (In Inspector) to 2 then the dimension of saved image file will be 1024 x 1024. So, do care about the ImageSizeRatio.
Polygone Editor This tool could help you edit the polygone shape shaders - 4A, 4B, 4C, 4D, 4E. It contains point to define/adjust the shape geometry.
You could adjust the points position in the shader material or you could use this polygon editor.