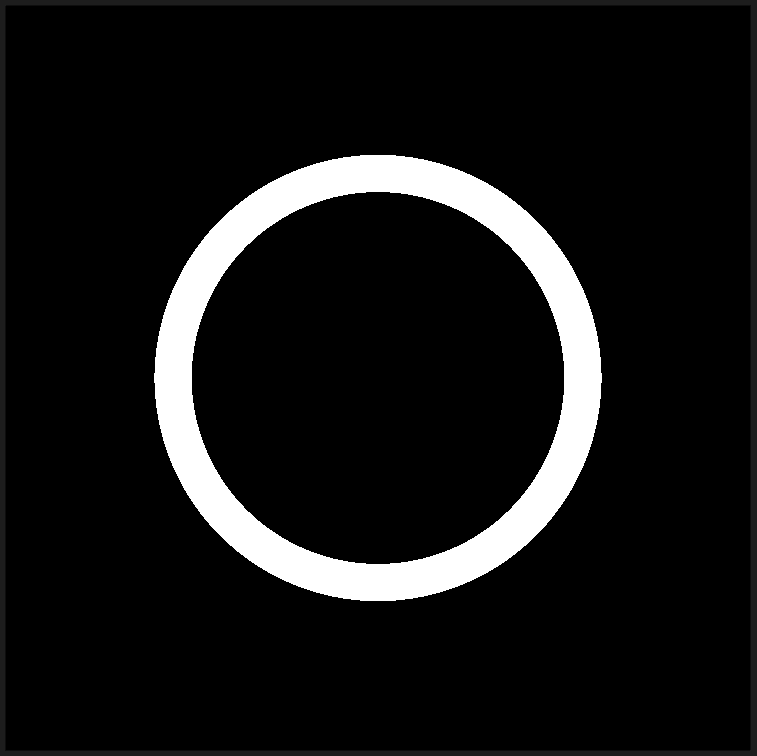
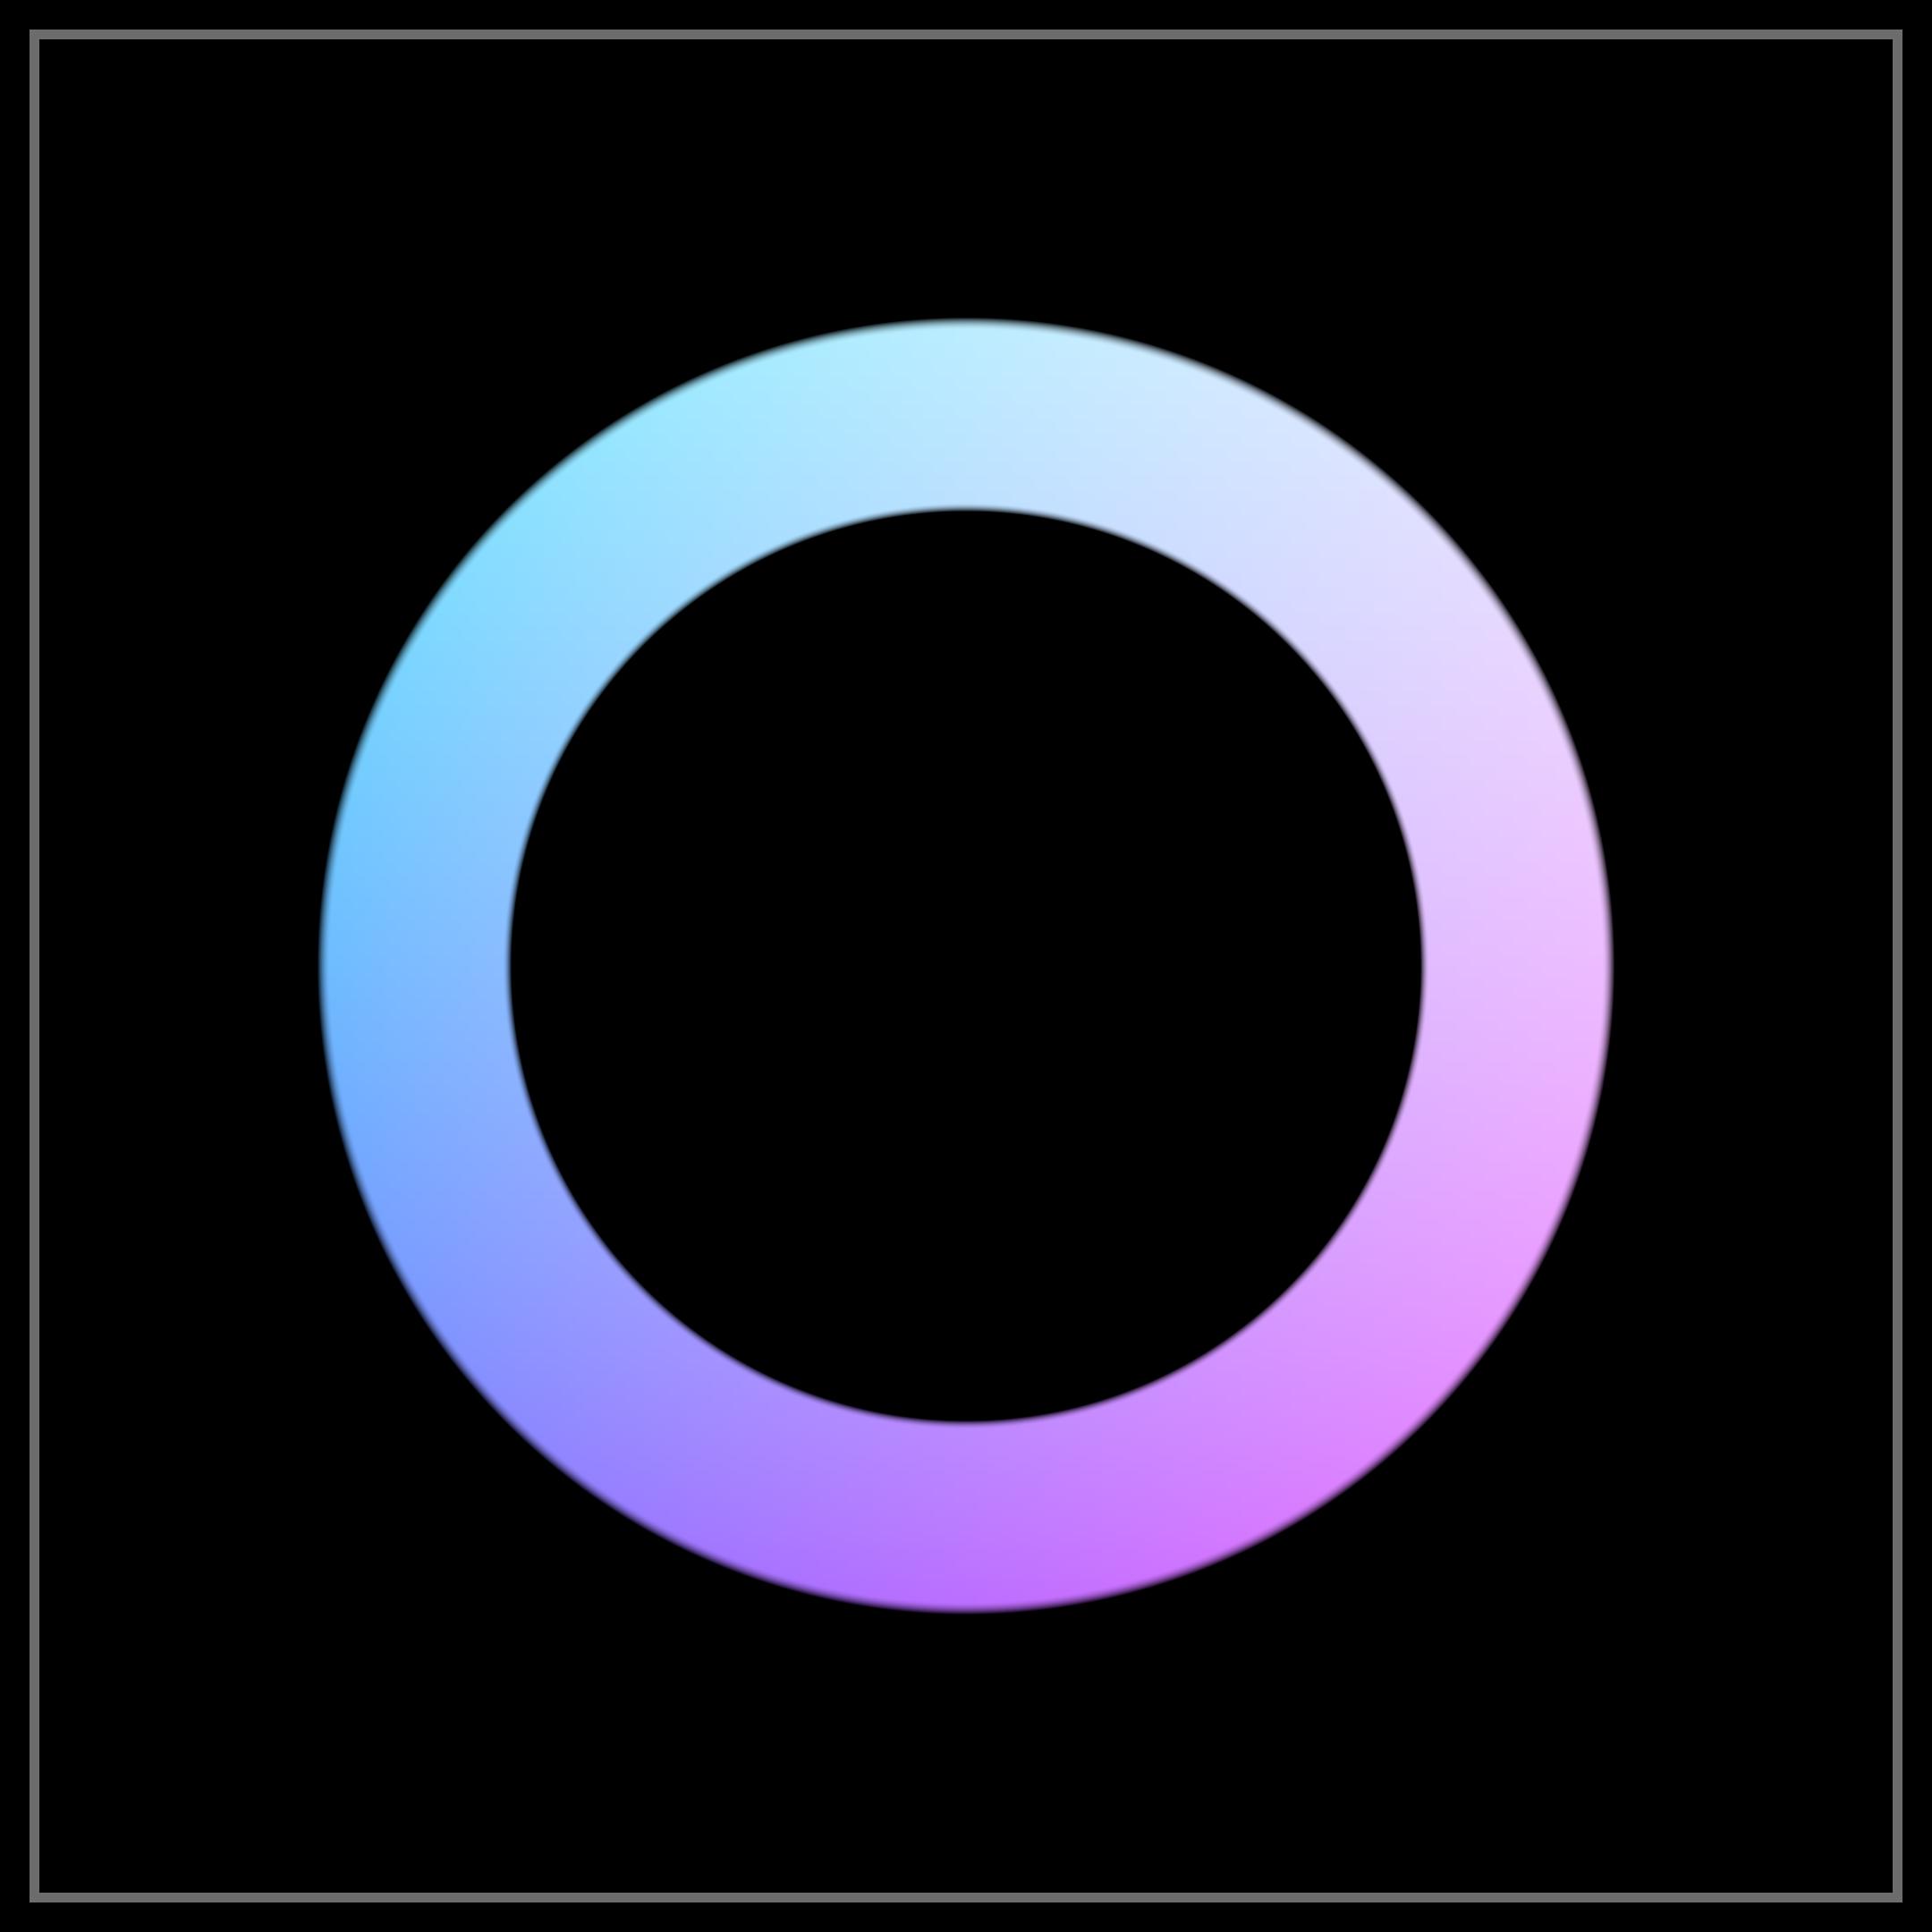
In this tutorial we will Create a Ring in Unity's Unlit Shader.
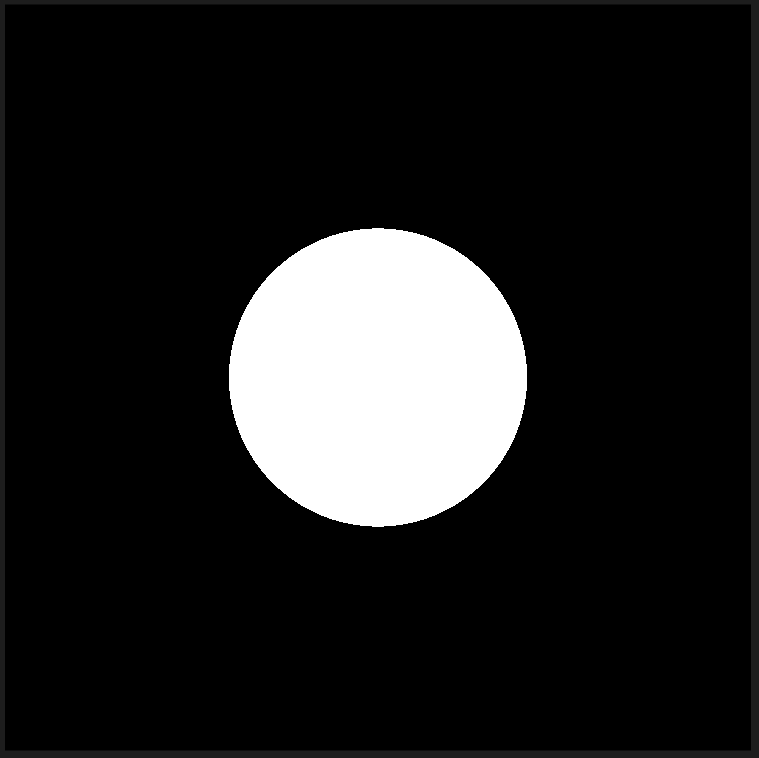
We will start with Circle drawn on screen, if you don't know how to draw a Circle you could follow this tutorials.
(How to Draw a Cirlce).
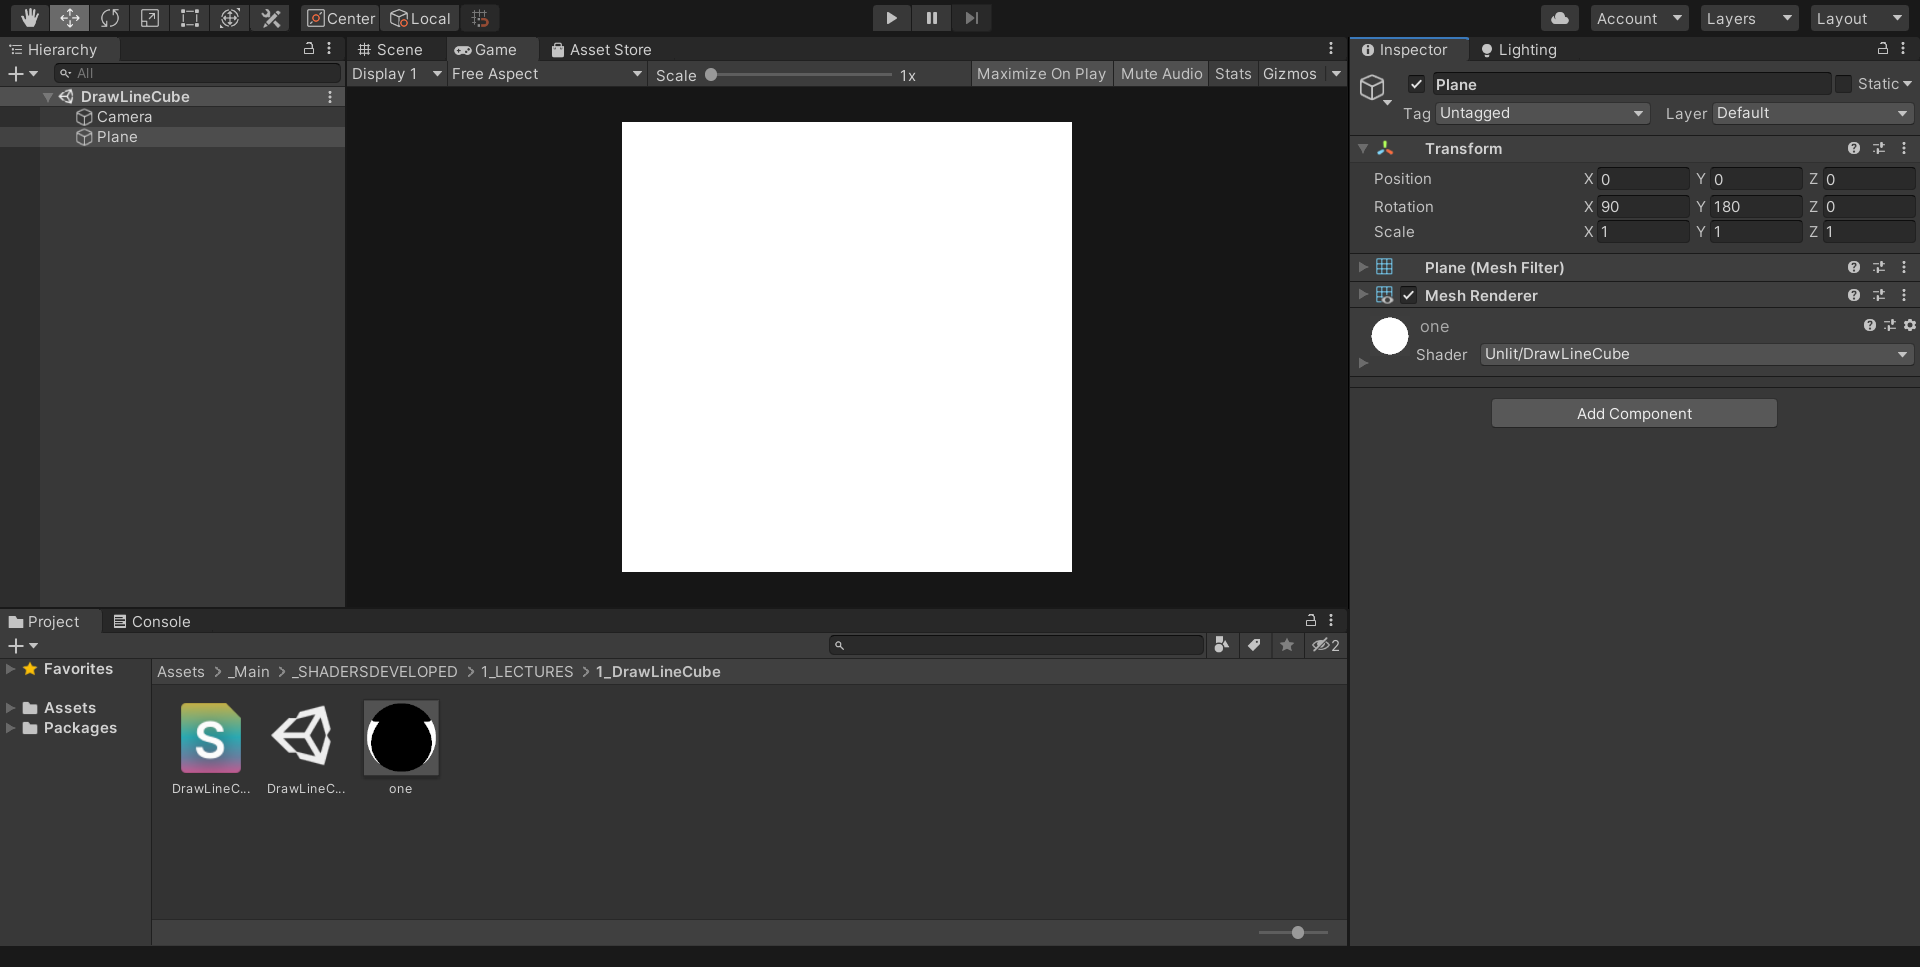
First add a plane then rotate it's face toward camera, or set the plane rotation to (90, 180, 0).
Add a unlit shader and apply it to a material, and apply that material to the plane.
open the Unlit Shader in Visual Studio.
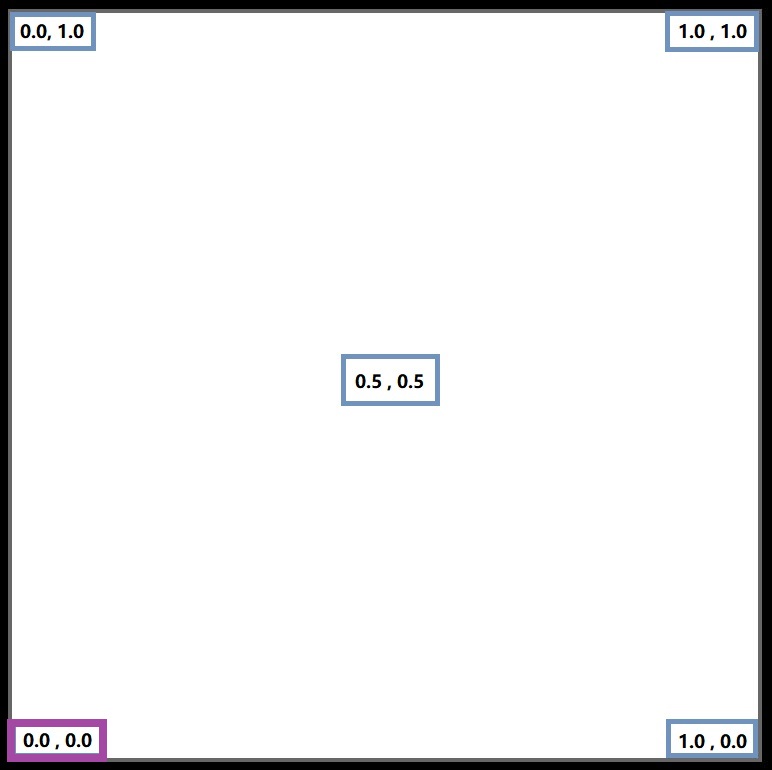
With this rotation of plane, the origin of i.uv is bottom left corner.
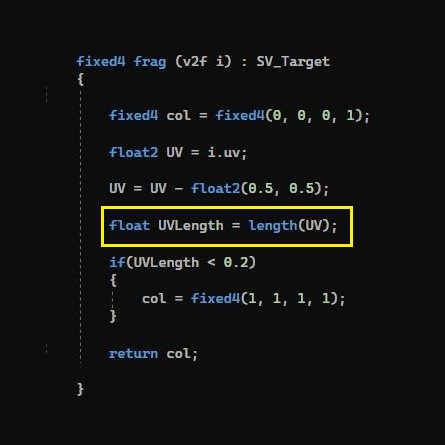
To draw the Circle we shifted our origin from bottom left corner to center, by just substracting the float2(0.5, 0.5) from UV.
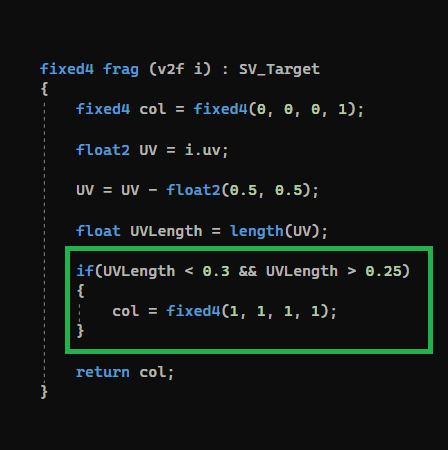
UV is a 2D Vector, and it has length too, and if at specific pixel the length of UV is less than 0.2 than color of that specific pixel is white otherwise color is black.
Just add one more condition " UVLength > 0.25 " . highlighted with green cell
At each pixel, UV (2D Vector) has different length.
If at specific pixel the length of UV lies is in the range (0.25 . 0.26 . 0.27 . 0.28 . 0.29 . 0.30) then color of that pixel is white else color is black.
In next section it is explained more briefly.
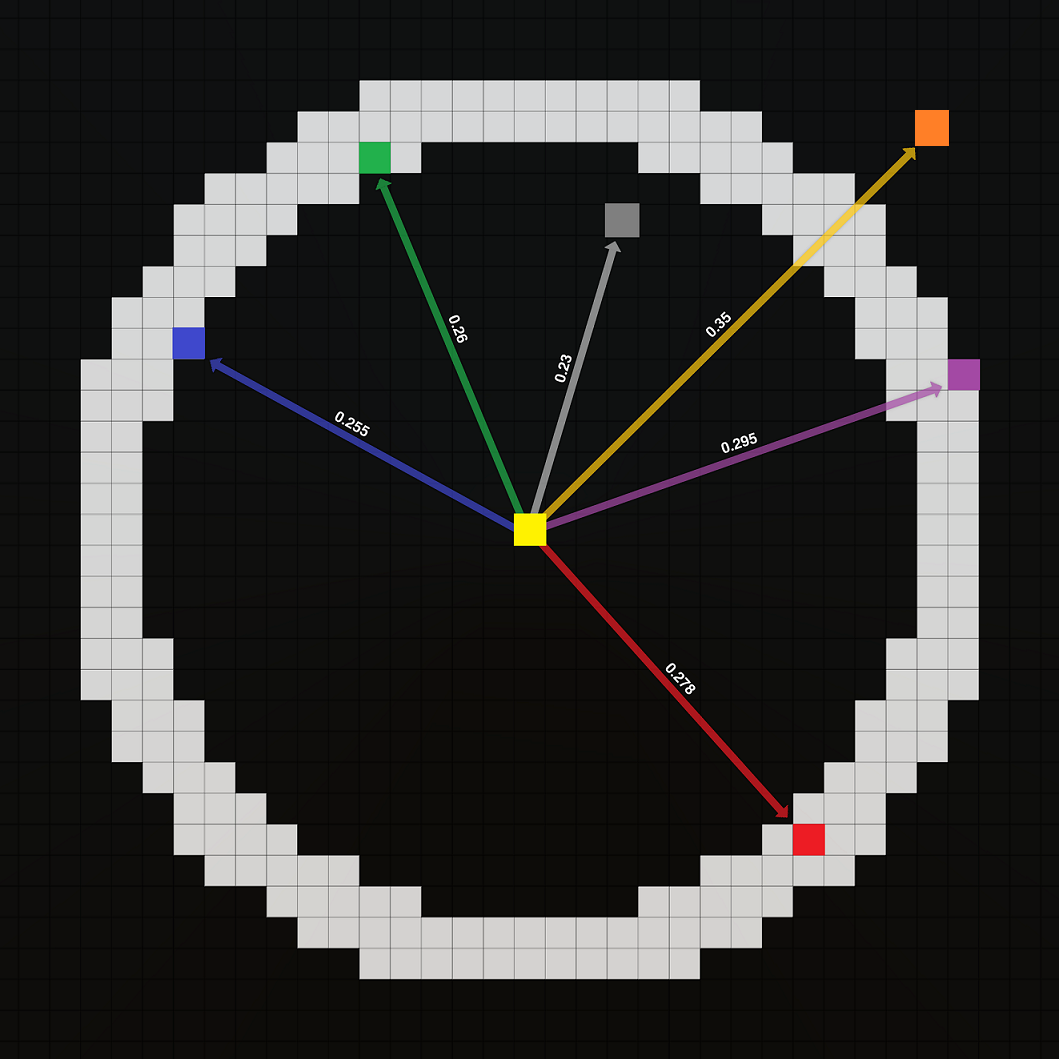
(Just For Understanding) during one call of fixed4 frag (v2f i) function, it goes through each pixel on Grid/Screen, to set the color of each pixel. UV at each pixel has different values of x & y.
The pixel mentioned with Yellow cell is the center pixel.
At Blue pixel the length of UV is 0.255 so set the color to white,
At Grey pixel the length of UV is 0.23, that is less than 0.25 so color is black
At Red pixel the length of UV is 0.275, again in the range so color is white.
At Orange pixel the length of UV is 0.35, that is greater than 0.3 so color is black